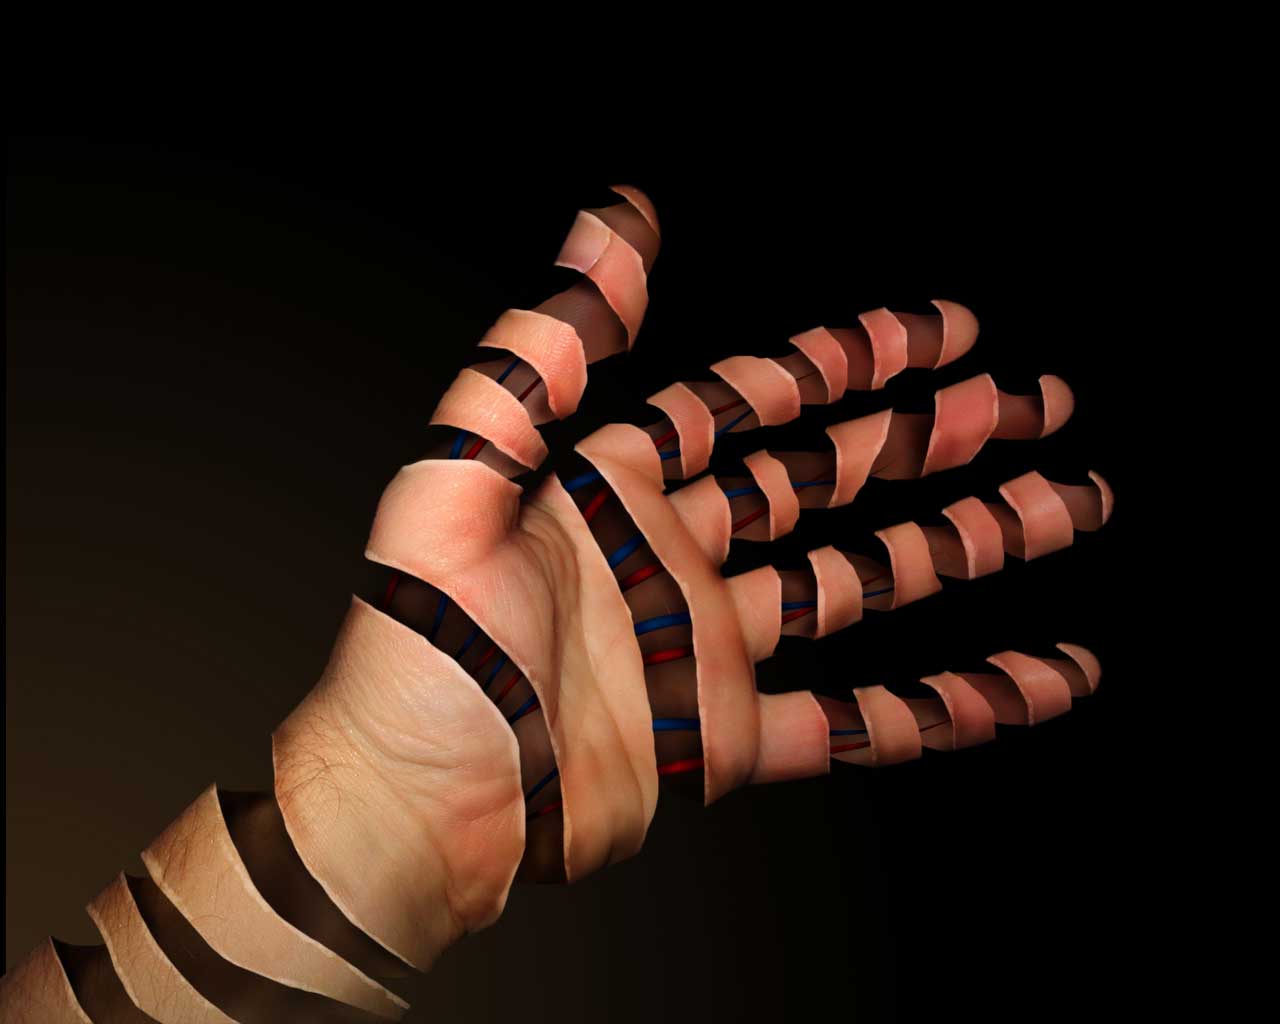
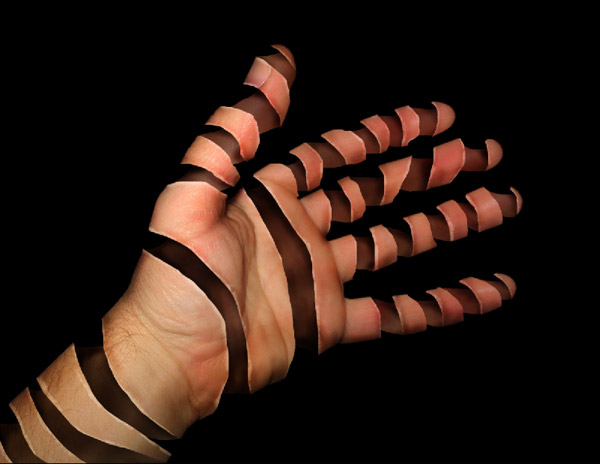
Today we're going to demonstrate how to peel a hand in Photoshop. You can use this technique to peel other objects of course. This is the final image preview..
Step 1
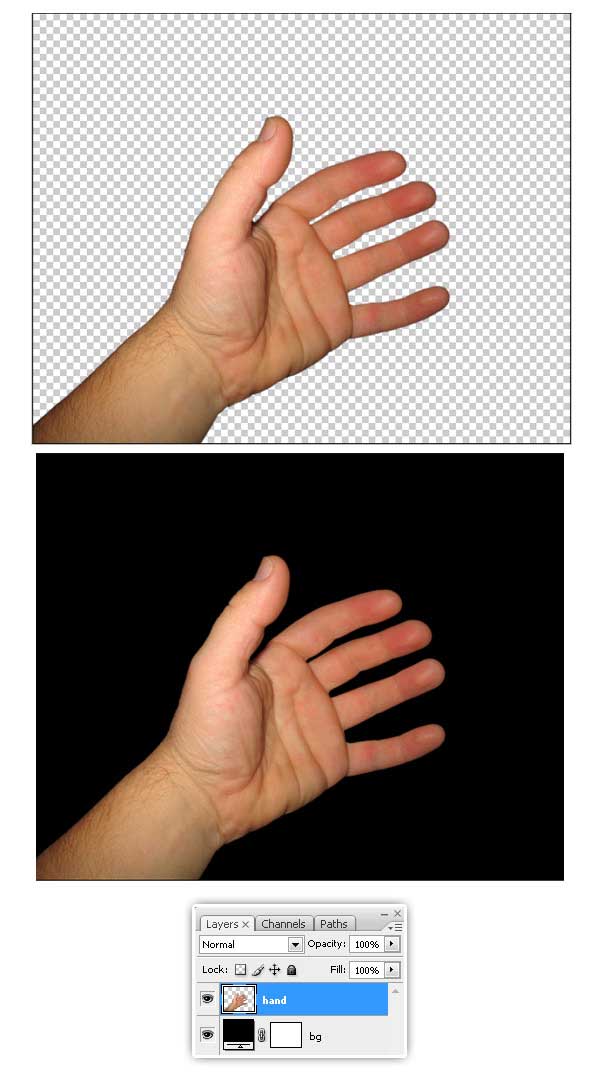
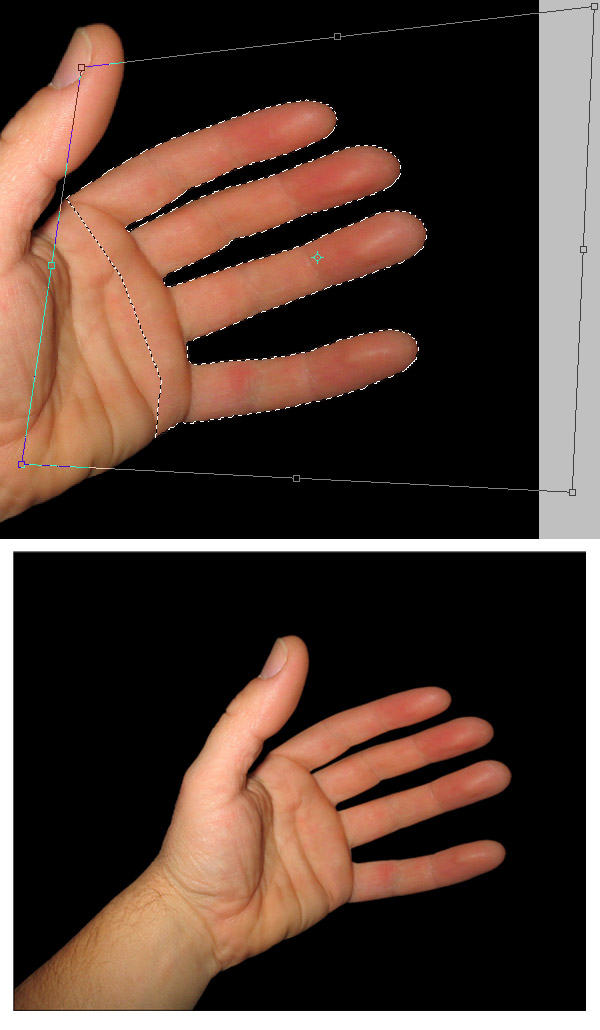
Let's get started, first download this picture of an open hand. You can use any other if you want to. Start extracting the hand from the background and pasting it into a new document, 1280 x 1024 pixels. Then create a new Black Fill Layer below "Hand" layer.
Step 2
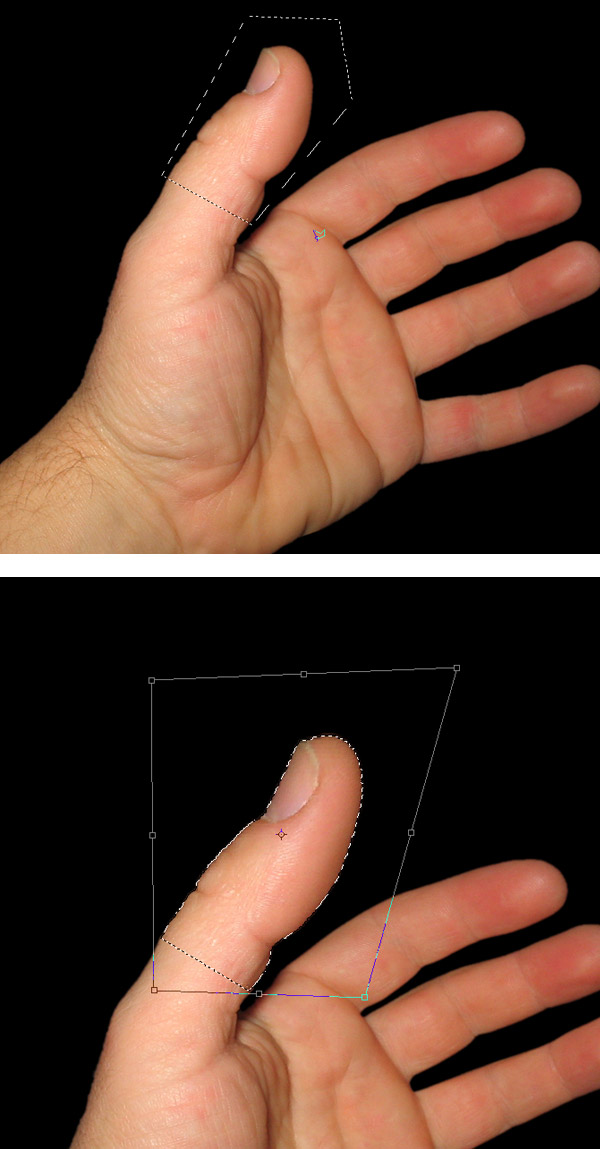
Now, what we need is to make all the fingers larger. Using the Lasso Tool, select only the thumb on "Hand" layer, then press V key to activate the transform options and distort the thumb a little bit, you can Command (Ctrl) - Click one of the selection corners and transform the shape.
Step 3
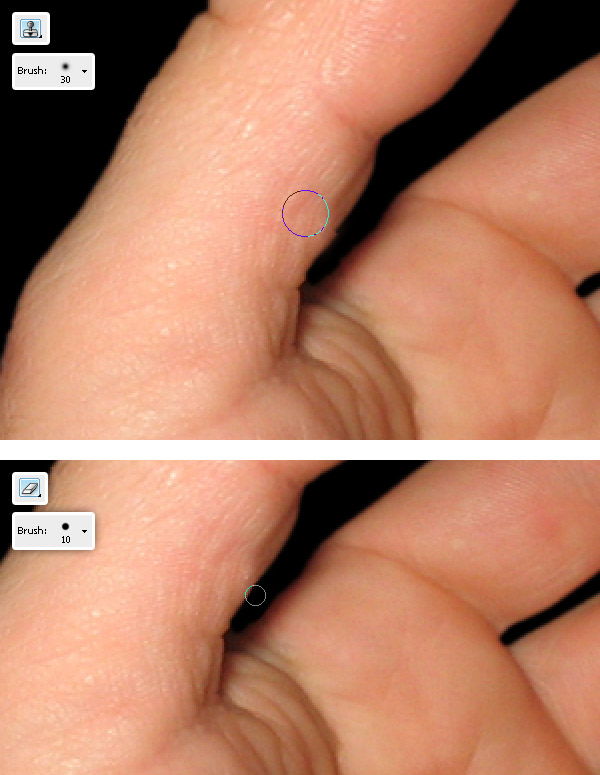
With the Clone Stamp Tool fix the distortions on the finger, also Erase the bad areas.
Step 4
Repeat the same process than step 2, but this time select the rest of the fingers, distort them and fix the details.
At this point you must have a nice hand with long fingers. Now it's time to start the peeling process.
Step 5
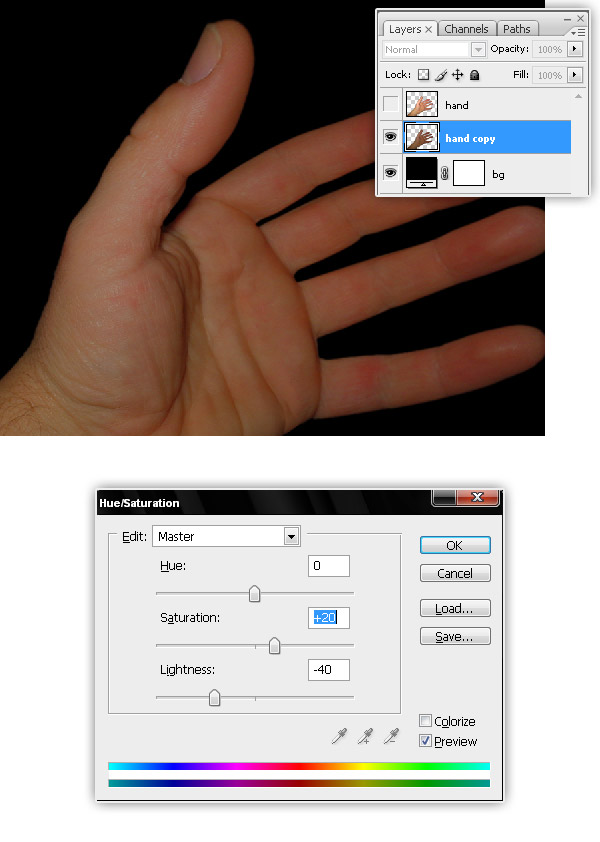
Duplicate the "Hand" layer, hide the original for a while and then adjust the Hue / Saturation values of "Hand copy" layer, set Saturation: +20 and Lightness: -40.
Step 6
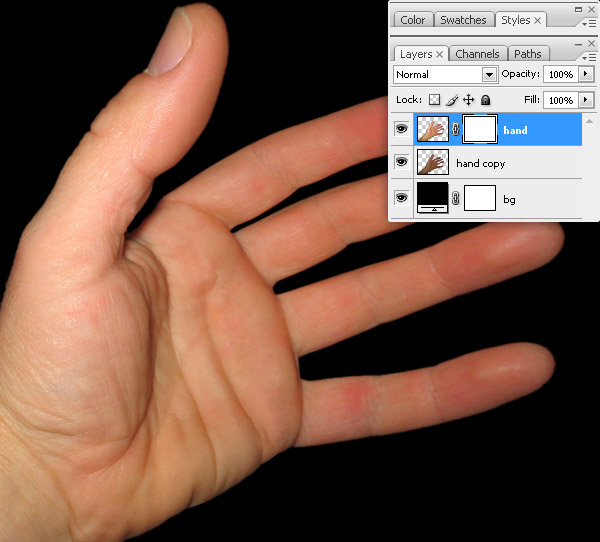
Now select "Hand" layer on Layers palette and go to Layer > Layer Mask > Reveal All.
Step 7
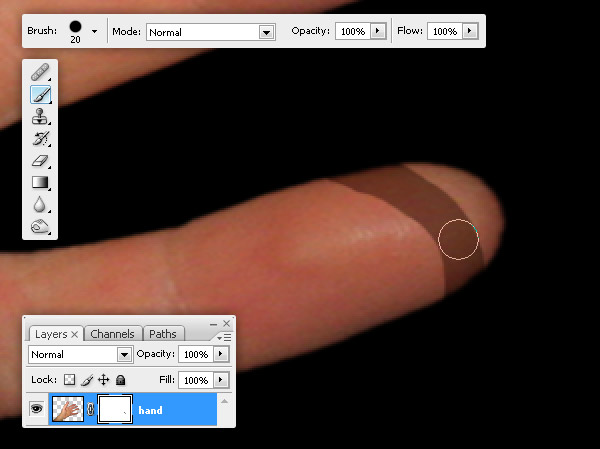
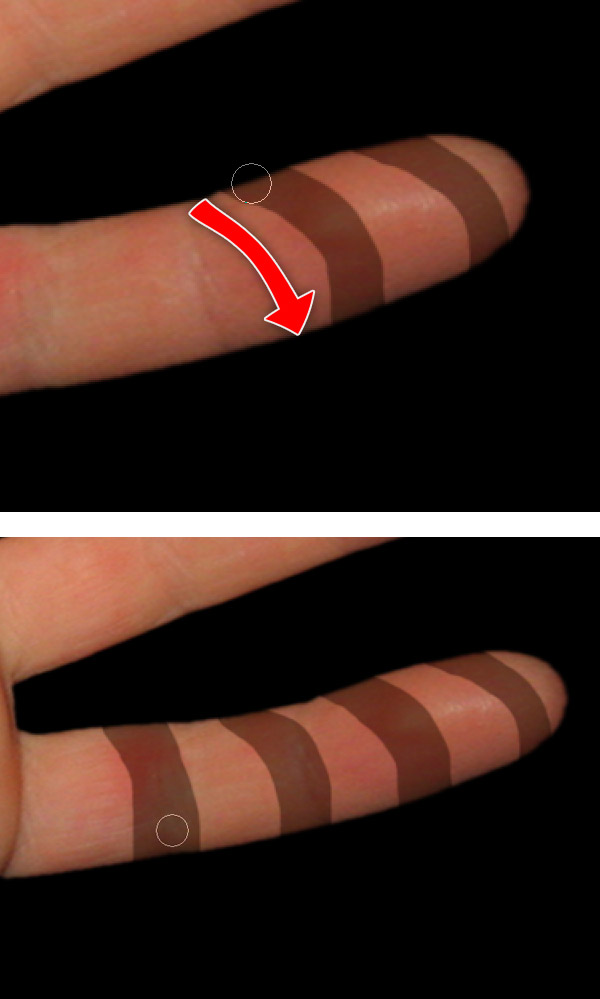
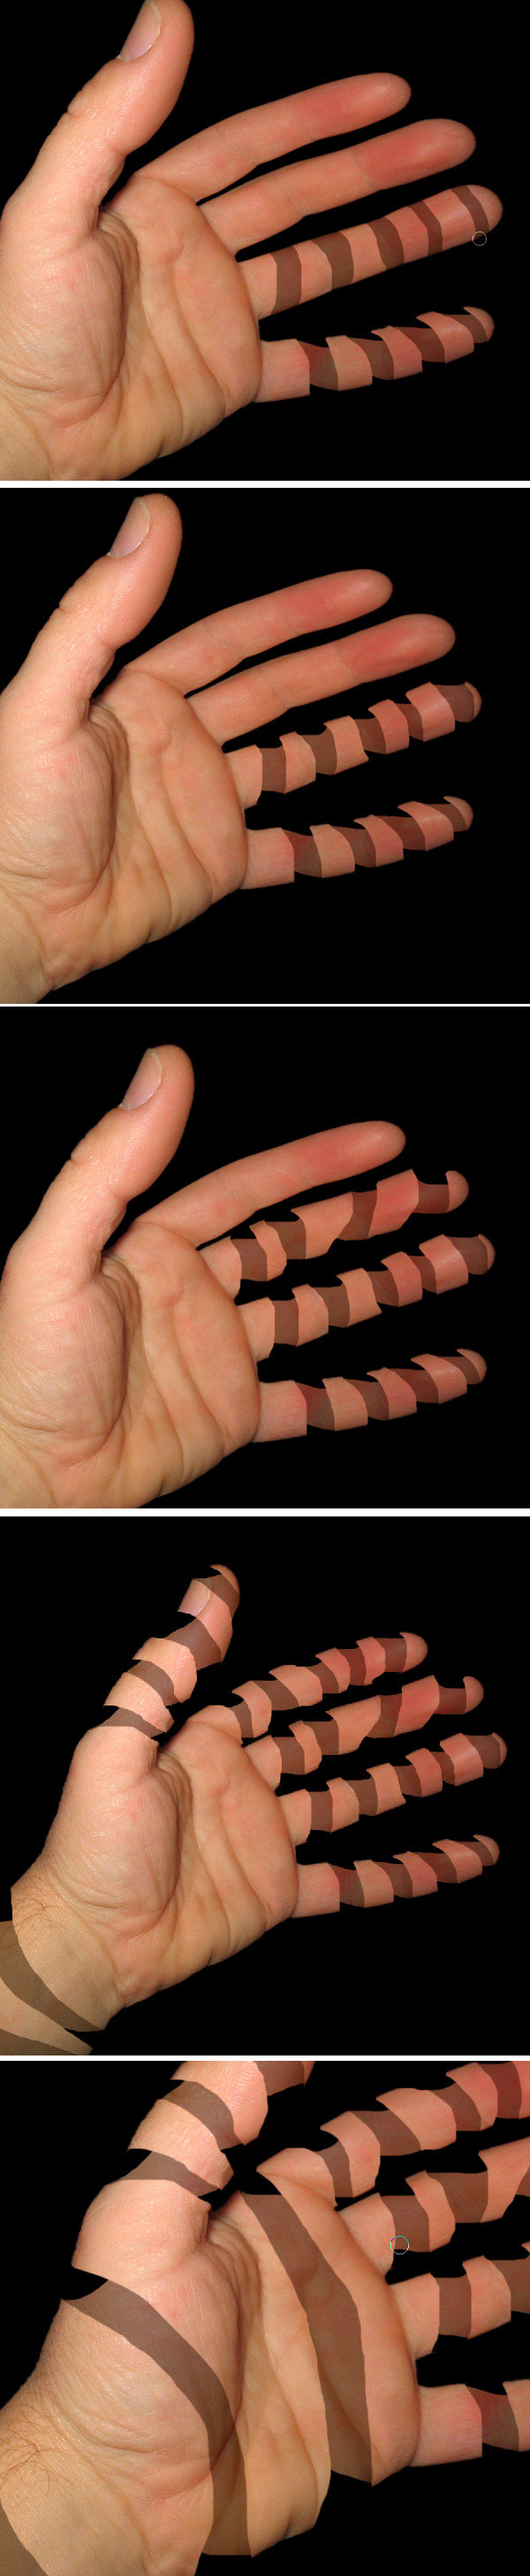
Now start peeling, select a 20px brush (Hardness 100%), set a black foreground and start painting on the hand's layer mask.
Step 8
Paint more stripes on hand's layer mask across the finger.
Step 9
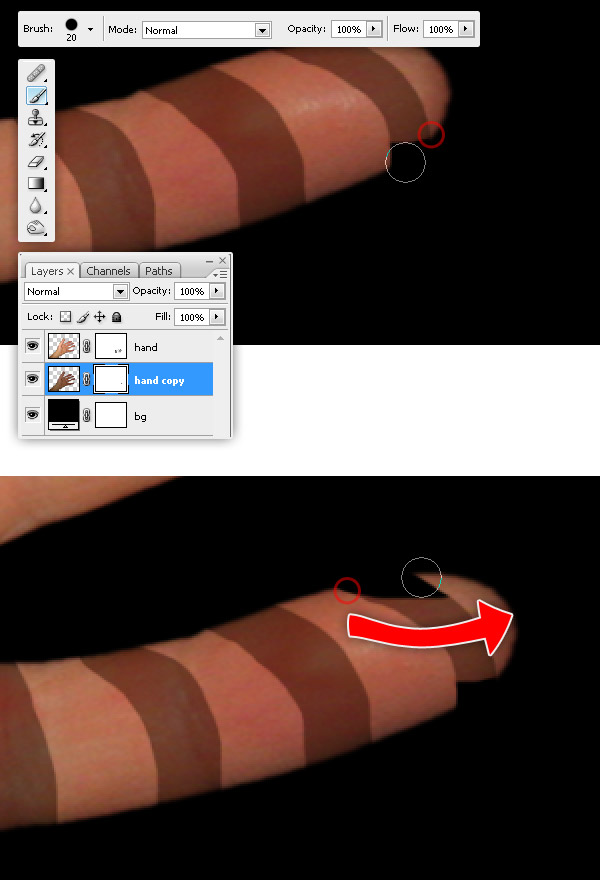
Now select "Hand copy" layer and apply to it a Layer Mask > Reveal all.
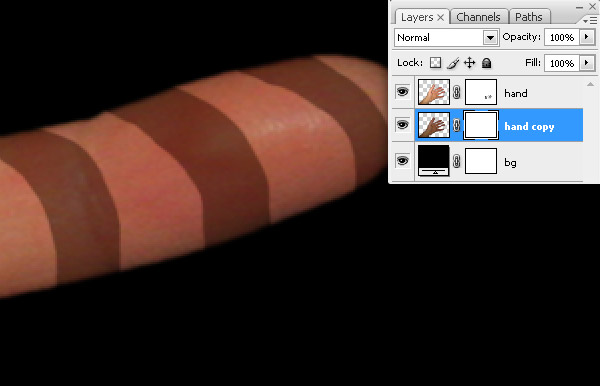
Step 10
On "hand copy" layer mask, paint some black stripes. Check the tiny red circles, those will be the visual join points between the two hand layers.
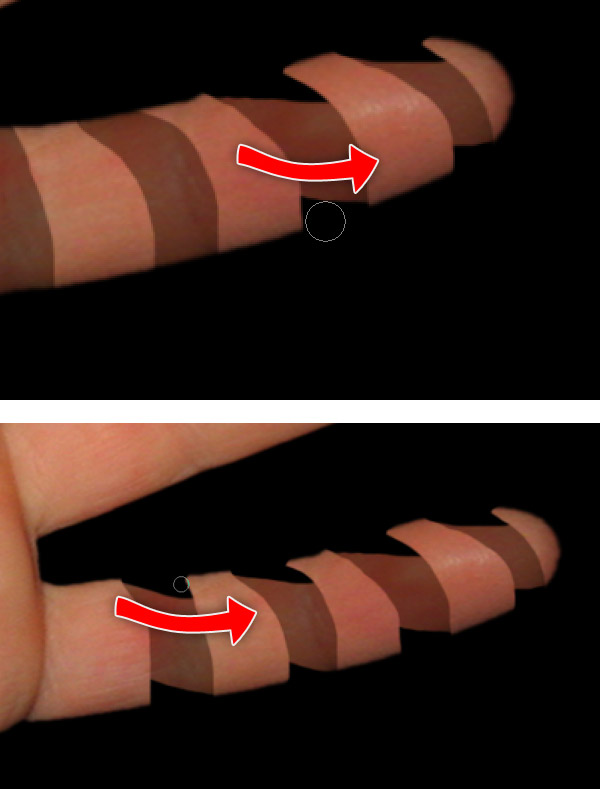
Step 11
Repeat the previous steps as many times as needed, try to get something like the images below. Remember, take care of the join points because those will give realism to our design.
Step 12
Now repeat the peeling on all other fingers, wrist and palm.
Step 13
Then select the Burn tool, set the brush to 20px Hardness 0% and Exposure to 50%. And paint over "Hand copy" layer, burn all the areas next the joins. Burn some areas of "Hand" layer aswell.
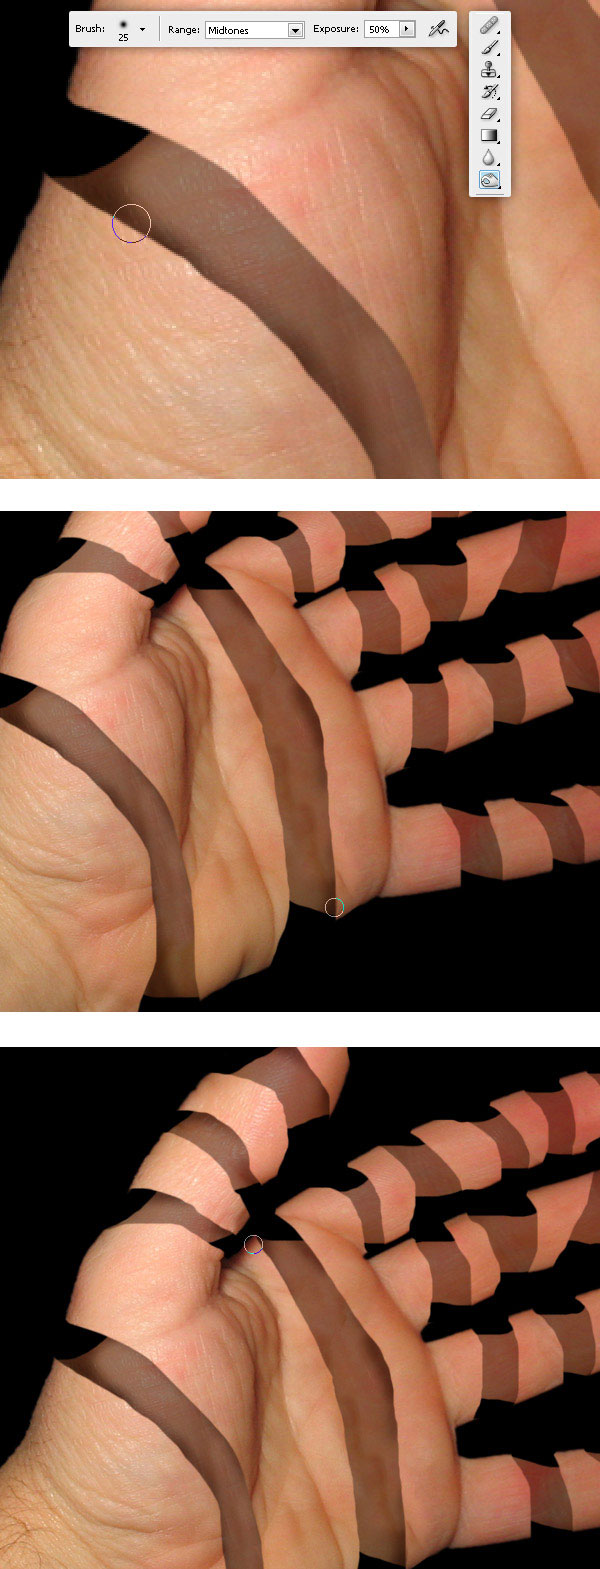
Step 14
To improve the torn sensation select the Dodge Tool, set an irregular brush and paint on "Hand" layer edges.
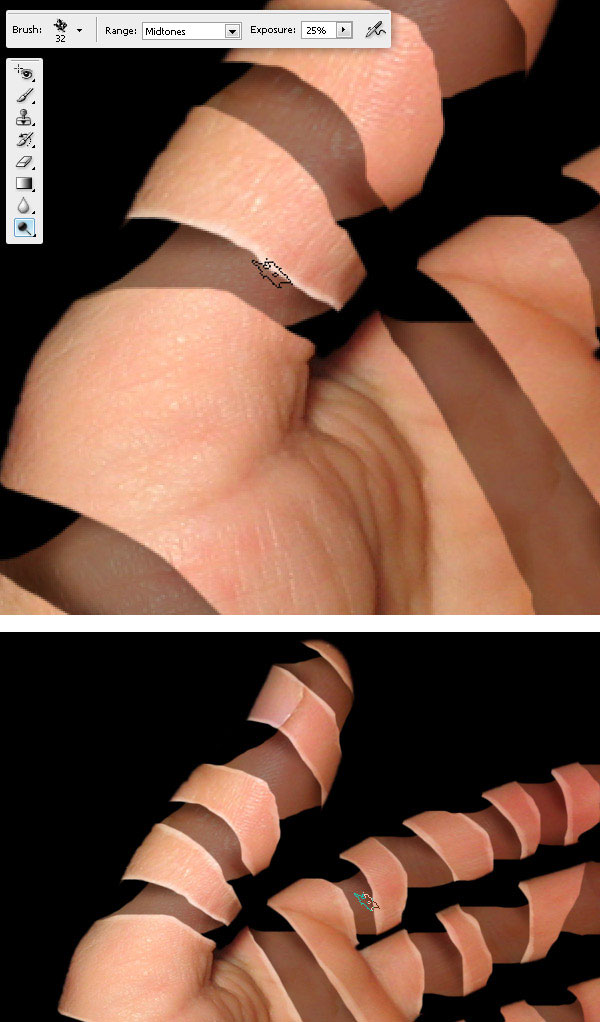
Step 15
Burn with a huge brush, the palm and fingers on "Hand copy" layer, also Burn the fingers and palm of "Hand" layer to increase the deep sensation.
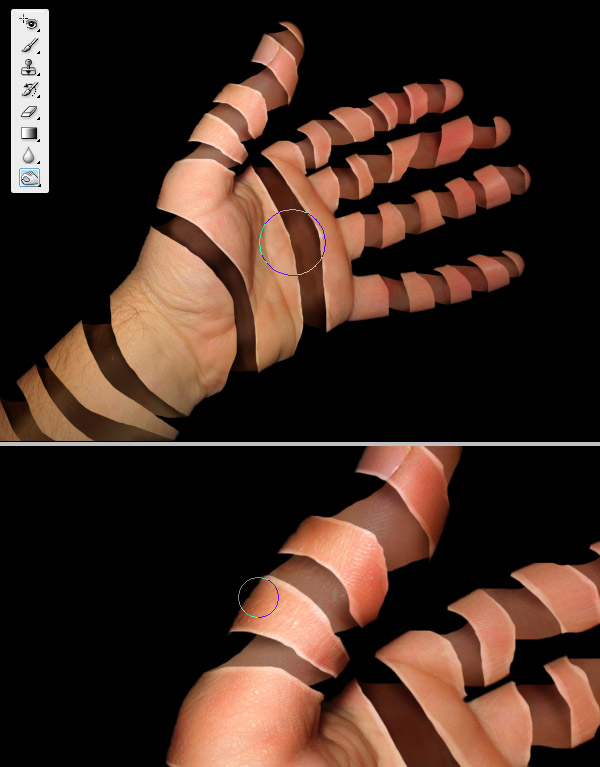
Step 16
We're close to finish. After burning here and there you should have something like this.
Step 17
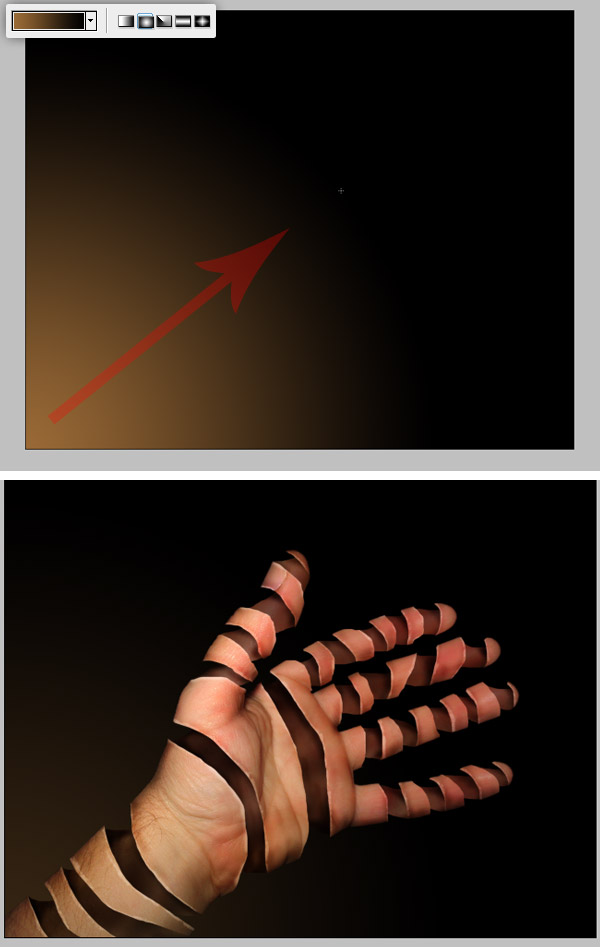
Now, draw a Radial Gradient background below "Hand" layer, use these colors (#996938 - #000000). Then change the "Gradient" layer Opacity to 35%.
Step 18
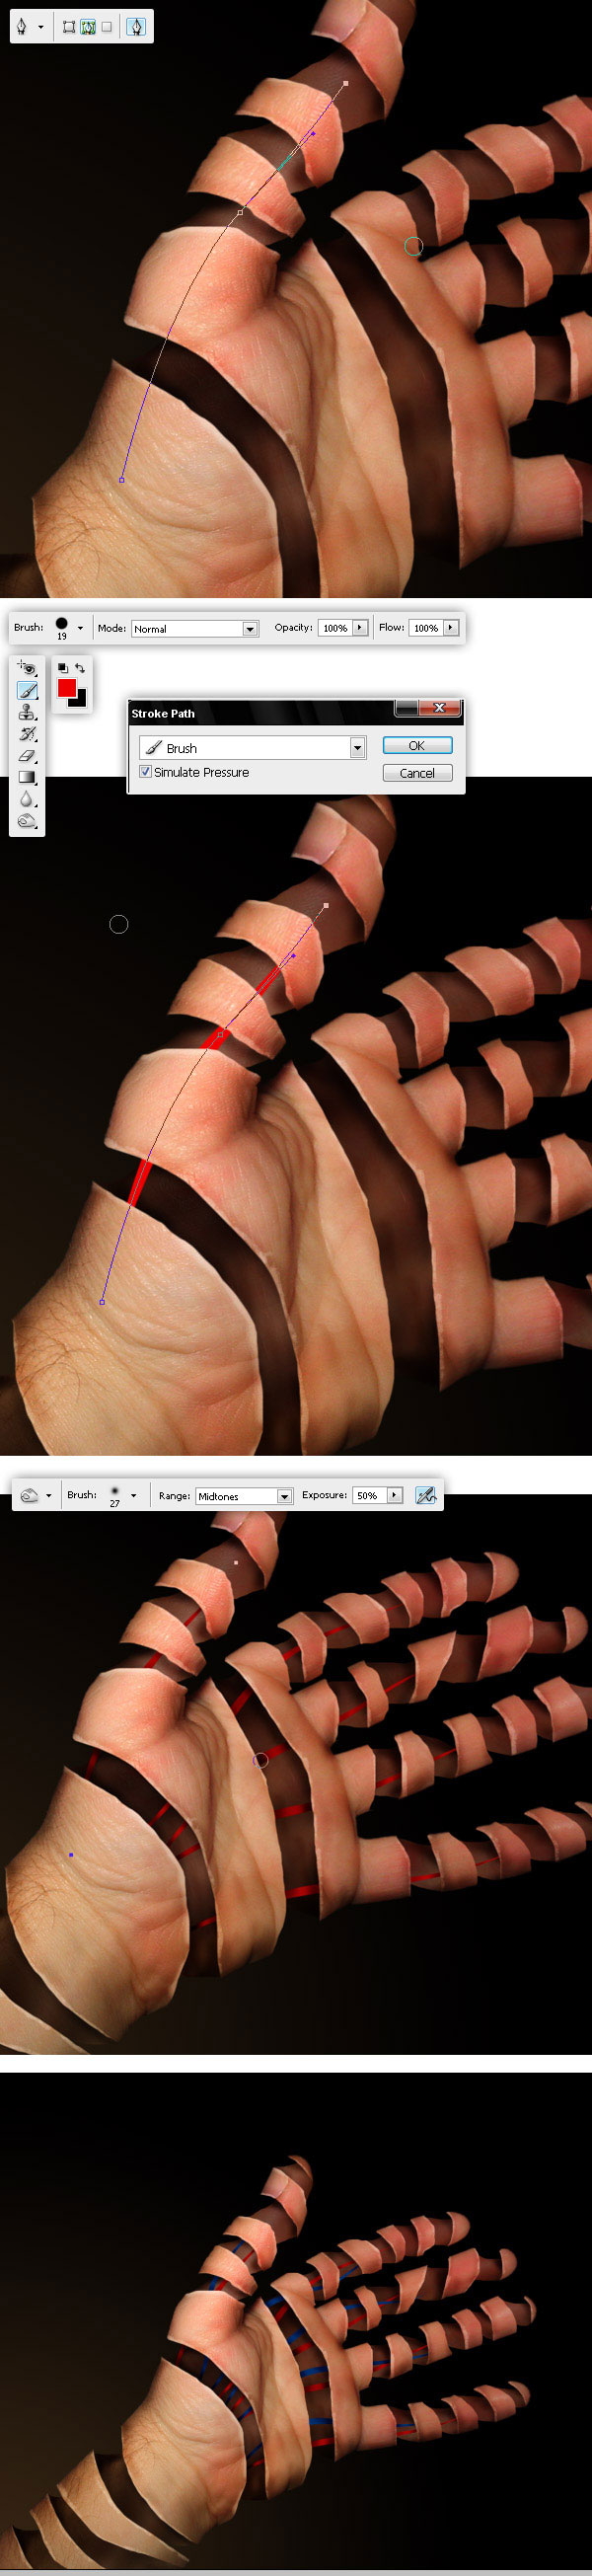
These are optional steps. Create a new layer above "Hand copy" layer and name it "Red Veins". Then with the Pen tool (just the paths), draw lines across the fingers. Then select a red Brush (Hardness 100%), hit the A key, then Right click (or Control Click on a Mac), click on Stroke Path option, select Brush - Simulate Pressure and then OK, do the same for all the fingers.
As an additional detail, just Burn some shadows over the "Red Veins" layer.
Finally Repeat this step but with "Blue Veins" this time.
Step 19
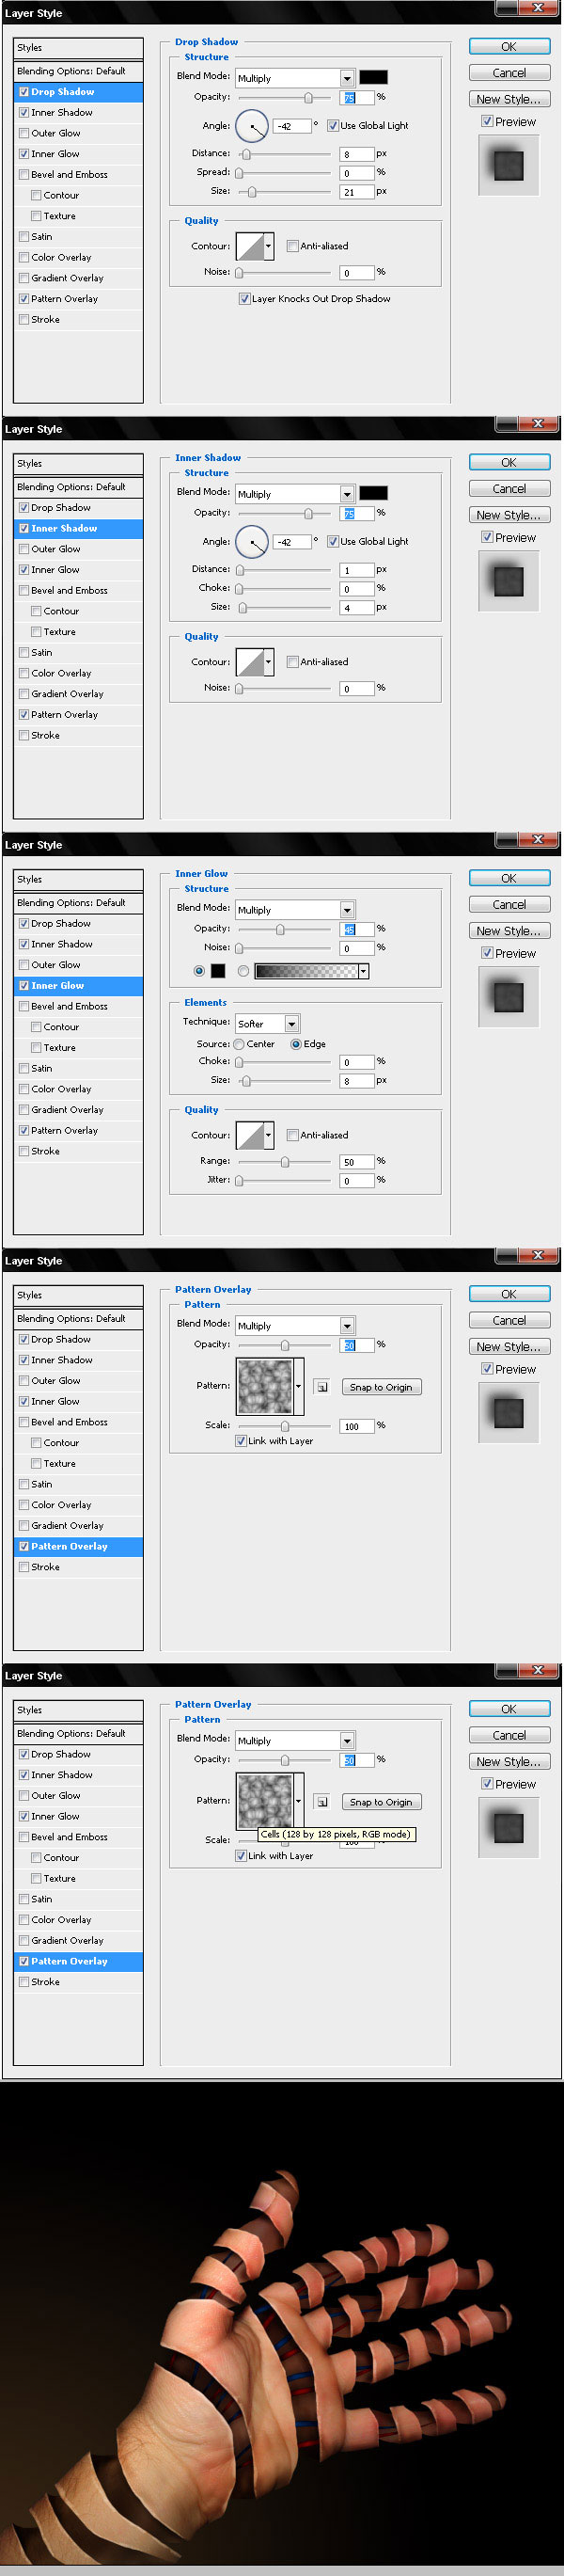
Now apply the following layer styles to "Veins" layers.
Final result
And that's it! just try peel another stuff, or add more interesting things inside a peeled object. Good luck!.
Feel free to post links and examples of stuff you peeled and leave us some feedback. Thanks...
WDD Staff


Read Next

3 Essential Design Trends, May 2024

How to Write World-Beating Web Content

20 Best New Websites, April 2024

Exciting New Tools for Designers, April 2024

How Web Designers Can Stay Relevant in the Age of AI

14 Top UX Tools for Designers in 2024

What Negative Effects Does a Bad Website Design Have On My Business?

10+ Best Resources & Tools for Web Designers (2024 update)

3 Essential Design Trends, April 2024

How to Plan Your First Successful Website

15 Best New Fonts, March 2024
