
1
On the modern web there are numerous techniques that can be used to create interesting interactions, but the simplest and most elegant is usually CSS, and specifically the additions that came with CSS3.
Back in the old days, we had to rely on JavaScript for this kind of effect, but thanks to ever-increasing support for CSS3 across browsers, it’s now possible to set up effects like these without any scripting at all. There are sadly still browsers (IE9 and below) that don’t support CSS3, so you’ll either need a fallback for legacy browsers or to treat the effect as a progressive enhancement.
Today, we’re going to look at how we can apply cool, but neat hover effects to show and hide images captions.
If you’d prefer to follow along with the code, you can download the files here.
Demo 1
The first demo is our simplest: the image will fly to its right to reveal the caption.
The markup
For our first demo’s HTML we will use an unordered list and then wrap the caption and the image inside it. Note that we will also add the class demo-1 and effect inside the unordered list tag. The markup will look like this:
<ul class="demo-1 effect">
 <li>
 <h2>This is a cool title!</h2>
 <p>Lorem ipsum dolor sit amet, consectetur adipiscing elit, sed do eiusmod tempor incididunt ut labore et dolore magna aliqua. Ut enim ad minim veniam, quis nost.</p>
 </li>
 <li><img class="top" src="images/image1.jpg" alt=""/></li>
</ul>
The CSS
For our CSS we will set relative positioning for our demo-1 class and then set up the width and height. We will also hide the overflowed elements. I’ve also put some basic styles for my h2 and p tags as well as my image tag. Now for our effect class we will set the positioning to absolute and giving it a margin of -15px to the top and bottom. We will use CSS3’s transition to create a smooth effect. Our CSS looks like this:
.demo-1 {
 position:relative;
 width:300px;
 height:200px;
 overflow:hidden;
 float:left;
 margin-right:20px;
 background-color:rgba(26,76,110,0.5)
}
.demo-1 p,.demo-1 h2 {
 color:#fff;
 padding:10px;
 left:-20px;
 top:20px;
 position:relative
}
.demo-1 p {
 font-family:'Lato';
 font-size:12px;
 line-height:18px;
 margin:0
}
.demo-1 h2 {
 font-family:'Lato';
 font-size:20px;
 line-height:24px;
 margin:0;
}
.effect img {
 position:absolute;
 margin:-15px 0;
 right:0;
 top:0;
 cursor:pointer;
 -webkit-transition:top .4s ease-in-out,right .4s ease-in-out;
 -moz-transition:top .4s ease-in-out,right .4s ease-in-out;
 -o-transition:top .4s ease-in-out,right .4s ease-in-out;
 transition:top .4s ease-in-out,right .4s ease-in-out
}
.effect img.top:hover {
 top:-230px;
 right:-330px;
 padding-bottom:200px;
 padding-left:300px
}
Demo 2
Our second demo will show the image sliding down. This means when you hover your mouse over the image the caption will be revealed above it.
The markup
For our second demo’s html, we’ll use very similar markup to our first demo. But this time we will use demo-2 as the class, and add the zero class:
<ul class="demo-2 effect">
 <li>
 <h2 class="zero">This is a cool title!</h2>
 <p class="zero">Lorem ipsum dolor sit amet.</p>
 </li>
 <li><img class="top" src="images/image1.jpg" alt=""/></li>
</ul>
The CSS
Our CSS will be almost the same as the first demo, except that this time we will move our image downwards by settings the property bottom to -96px. We’ll also use CSS3’s transition to create a smooth effect:
.demo-2 {
 position:relative;
 width:300px;
 height:200px;
 overflow:hidden;
 float:left;
 margin-right:20px;
 background-color:rgba(26,76,110,0.5)
}
.demo-2 p,.demo-2 h2 {
 color:#fff;
 padding:10px;
 left:-20px;
 top:20px;
 position:relative
}
.demo-2 p {
 font-family:'Lato';
 font-size:12px;
 line-height:18px;
 margin:0
}
.demo-2 h2 {
 font-size:20px;
 line-height:24px;
 margin:0;
 font-family:'Lato'
}
.effect img {
 position:absolute;
 left:0;
 bottom:0;
 cursor:pointer;
 margin:-12px 0;
 -webkit-transition:bottom .3s ease-in-out;
 -moz-transition:bottom .3s ease-in-out;
 -o-transition:bottom .3s ease-in-out;
 transition:bottom .3s ease-in-out
}
.effect img.top:hover {
 bottom:-96px;
 padding-top:100px
}
h2.zero,p.zero {
 margin:0;
 padding:0
}
Demo 3
For our last demo, we’ll create a flipping card effect. This means when you hover your mouse on the image it will spin it around on its axis to reveal the description.
The markup
For our last demo markup, we’ll use a different structure. First, we’ll use the HTML5 figure element along with a figure caption tag inside it. We’ll also use the demo-3 class for our unordered list:
<ul class="demo-3">
 <li>
 <figure>
 <img src="images/image1.jpg" alt=""/>
 <figcaption>
 <h2>This is a cool title!</h2>
 <p>Lorem ipsum dolor sit amet, consectetur adipiscing elit, sed do eiusmod tempor incididunt ut labore et dolore magna aliqua. Ut enim ad minim veniam, quis nost.</p>
 </figcaption>
 </figure>
 </li>
</ul>
The CSS
In our CSS, we will set the figure image to a relative position and then hide the backface-visibility. We’ll also use the rotateY transform: -180 degrees for figcaption and then change it to 180 degrees for the hover of both the image and caption:
.demo-3 {
 position:relative;
 width:300px;
 height:200px;
 overflow:hidden;
 float:left;
 margin-right:20px
}
.demo-3 figure {
 margin:0;
 padding:0;
 position:relative;
 cursor:pointer;
 margin-left:-50px
}
.demo-3 figure img {
 display:block;
 position:relative;
 z-index:10;
 margin:-15px 0
}
.demo-3 figure figcaption {
 display:block;
 position:absolute;
 z-index:5;
 -webkit-box-sizing:border-box;
 -moz-box-sizing:border-box;
 box-sizing:border-box
}
.demo-3 figure h2 {
 font-family:'Lato';
 color:#fff;
 font-size:20px;
 text-align:left
}
.demo-3 figure p {
 display:block;
 font-family:'Lato';
 font-size:12px;
 line-height:18px;
 margin:0;
 color:#fff;
 text-align:left
}
.demo-3 figure figcaption {
 top:0;
 left:0;
 width:100%;
 height:100%;
 padding:29px 44px;
 background-color:rgba(26,76,110,0.5);
 text-align:center;
 backface-visibility:hidden;
 -webkit-transform:rotateY(-180deg);
 -moz-transform:rotateY(-180deg);
 transform:rotateY(-180deg);
 -webkit-transition:all .5s;
 -moz-transition:all .5s;
 transition:all .5s
}
.demo-3 figure img {
 backface-visibility:hidden;
 -webkit-transition:all .5s;
 -moz-transition:all .5s;
 transition:all .5s
}
.demo-3 figure:hover img,figure.hover img {
 -webkit-transform:rotateY(180deg);
 -moz-transform:rotateY(180deg);
 transform:rotateY(180deg)
}
.demo-3 figure:hover figcaption,figure.hover figcaption {
 -webkit-transform:rotateY(0);
 -moz-transform:rotateY(0);
 transform:rotateY(0)
}
Not Useless: Why Experimental Websites Matter More Than You Think
Every once in a while, a site comes along that makes you pause, grin, and think: Wait—websites can do that? Maybe it’s a portfolio where the cursor morphs into a liquid blob,…

Framer vs. WordPress vs. Webflow: Who Actually Wins in 2026?
Every few years, the web design world crowns a new “ultimate platform.” Once upon a time, it was WordPress. Then Webflow rose as the cool, code-free disruptor. Then Framer entered…

Density vs. Clarity: The Core Tension in Modern UI Design
Every generation of designers seems to rediscover the same paradox: the more information we can display, the less anyone can process. The web is bursting with pixels that compete for…
What Figma Got Wrong About Design Systems
When Figma first revolutionized collaborative design, it promised something that sounded irresistible: true consistency at scale. Design systems became the new religion, and Figma was its temple. Tokens, components, variants —…

The Evolution of Web Development: From Static Pages to AI-Driven Experiences
Web development has always been a strange cocktail of creativity, technology, and a bit of chaos. In its earliest days, it was pure alchemy—weaving simple code into pages that, somehow, transmitted…
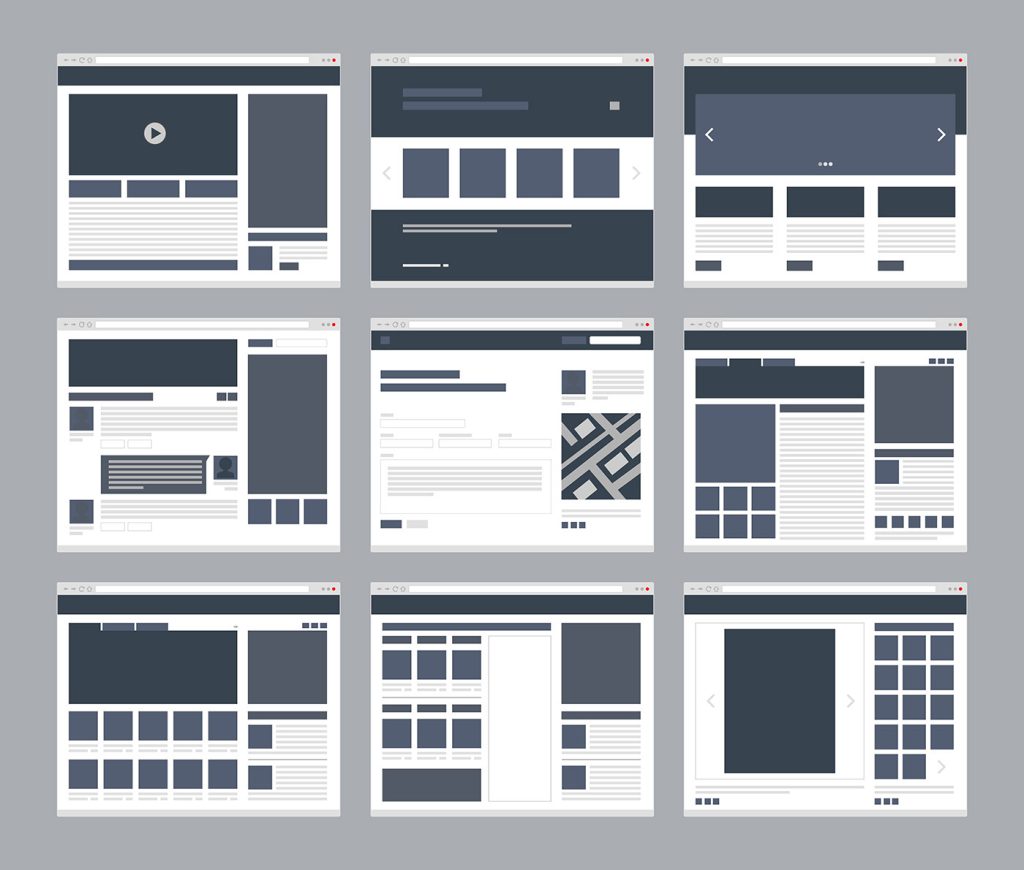
From Wireframes to Prototypes: Why Designers Need to Grow Up
Wireframes once ruled the UX kingdom. They were the designer’s armor — grayscale, boxy, safe. They reassured clients, gave developers something to glance at, and let teams pretend they were…