 In this article, we're going to start by looking at a few inspirational movie posters from the 1980s which we'll use for inspiration.
Then, we're going to use Adobe Photoshop to create a 1980's style movie poster for our fictitious film titled "The Designer's Mansion."
This tutorial is aimed for designers with a fair understanding of Photoshop.
If you follow this tutorial, please feel free to post a link to your final product in the comments area below. We'd love to see it!
Let's get started!
Here are 10 inspirational posters from 1980-89.
1980: The Blues Brothers
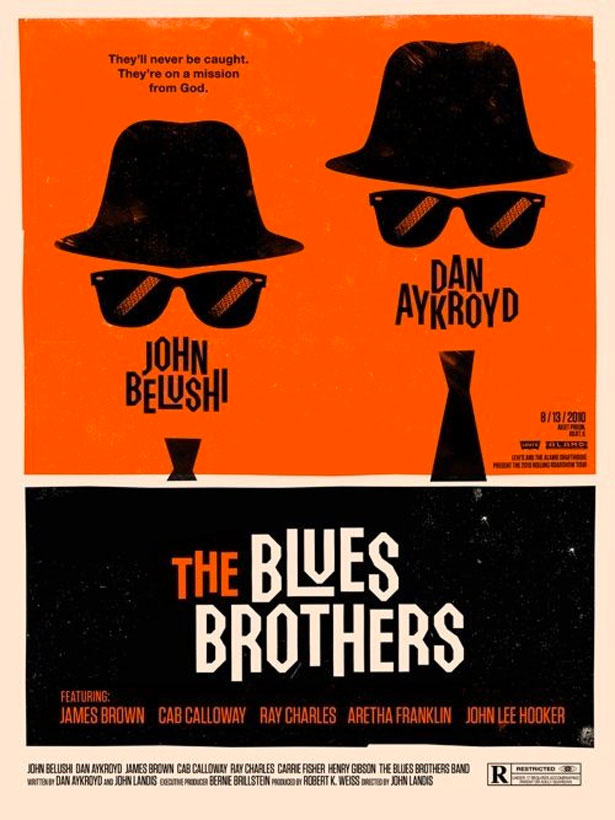
A really lovely and inspirational '80s poster that uses a limited color scheme and simple shapes to create a poster with a twist.
1981: Chariots Of Fire
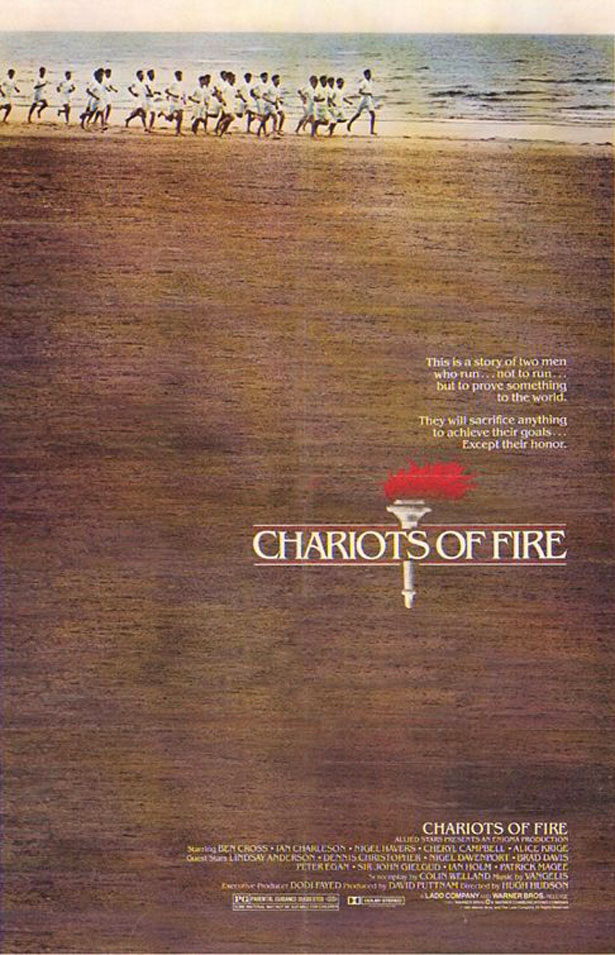
This poster is brought to life by the purposefully worn and noisy photograph, and it's finished off with classic typography. Who said posters had to be complex?
1982: A Little Sex
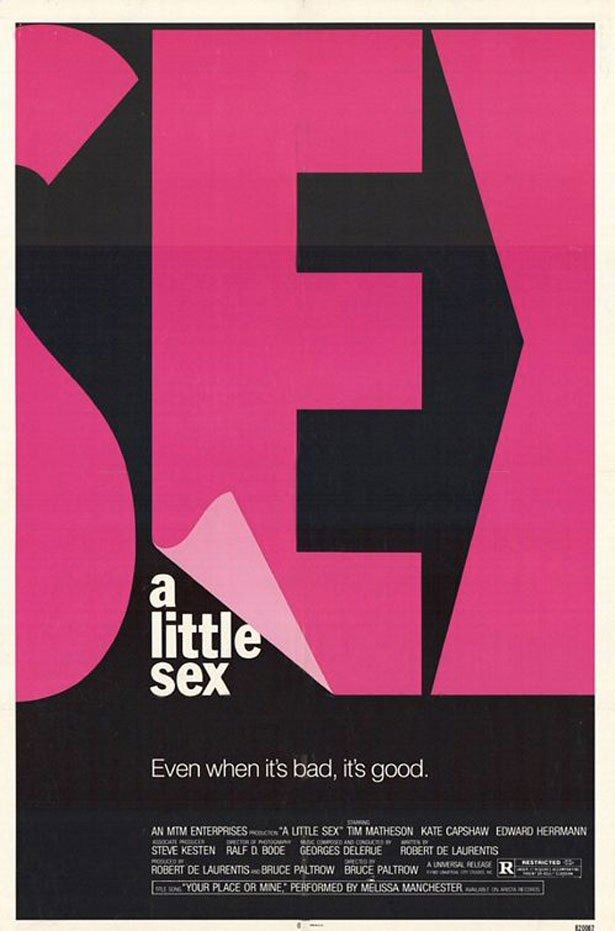
Modern typography was clearly an inspiration in the '80s! A really simple poster that works tremendously well.
1983: Scarface
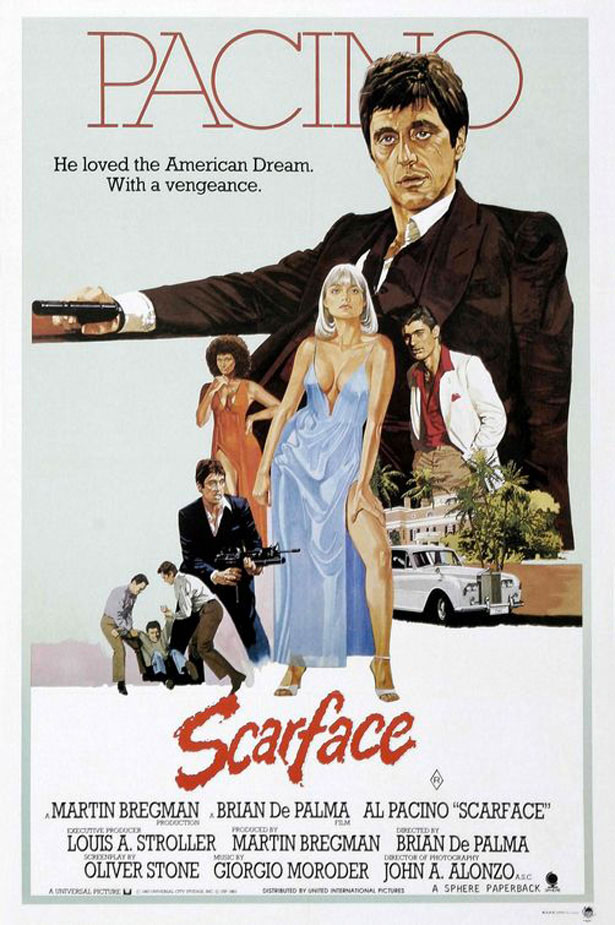
This minimal hand-painted piece makes use of color but leaves plenty of white space. Other than the title, the typefaces are simple.
1984: The Terminator
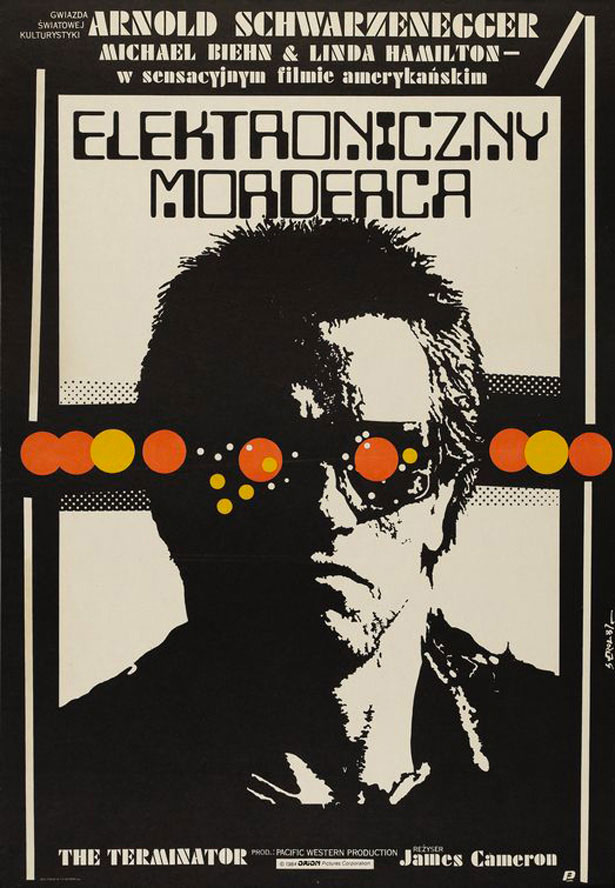
This two-toned vector-style poster catches your attention. The half-tone patterns in the background draw the eye.
1985: Day of the Dead
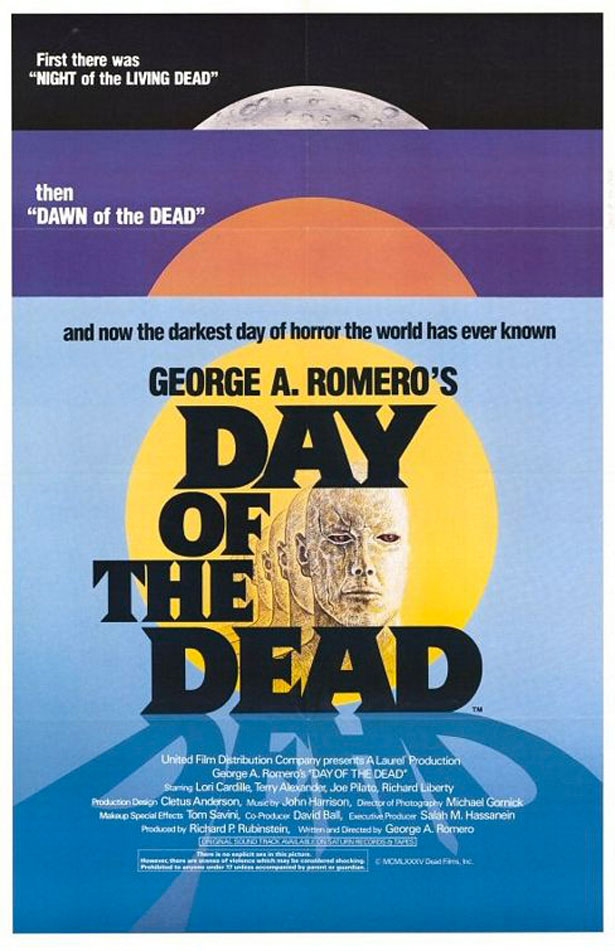
This clever poster advertises three "Dead" films: Night of the Living Dead, Dawn of the Dead and Day of the Dead. A great poster overall, with superb colors.
1986: Under the Cherry Moon
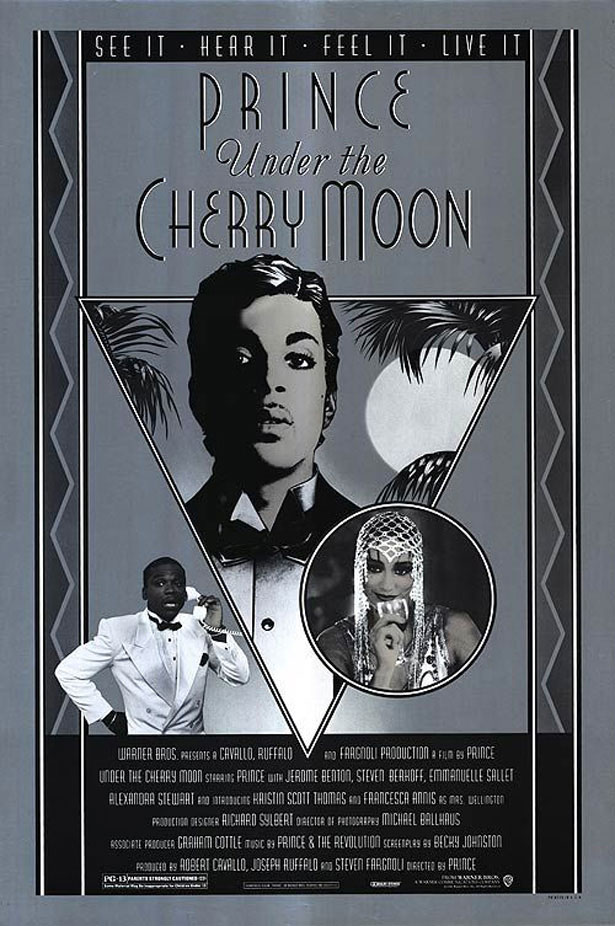
The effect of this nearly grayscale poster is achieved with simple shapes, patterns and typography.
1987: Empire of the Sun
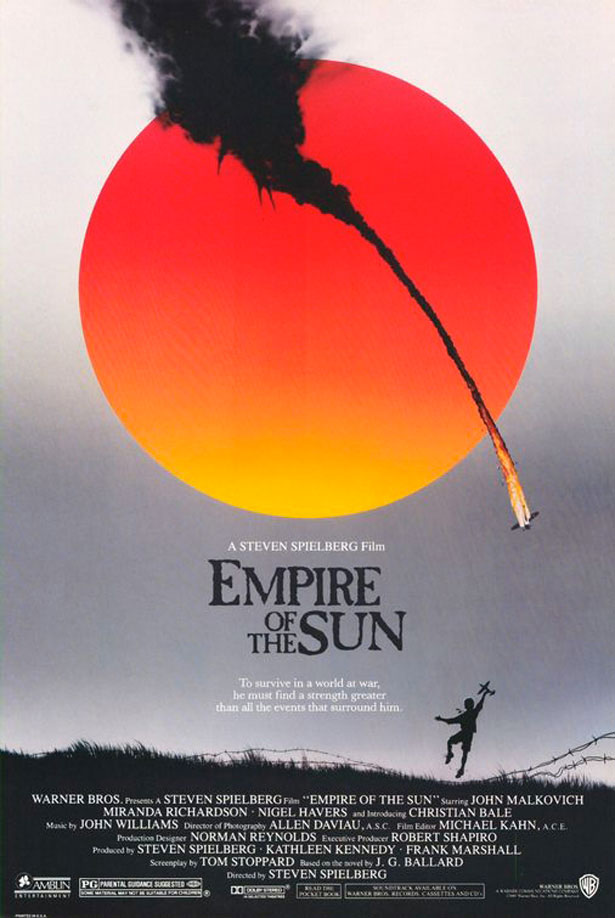
This poster overlays the vivd color of the sun on a black and white photograph, creating an arresting effect.
1988: The Last Temptation of Christ
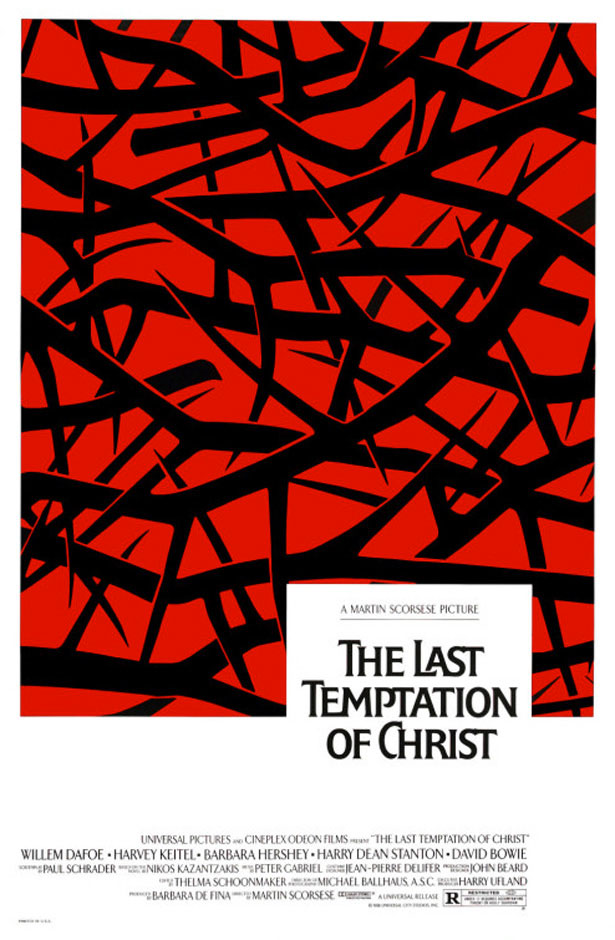
A lovely illustrative poster with a modern feel. It could easily be mistaken for a new movie rather than one from 1988!
1989: The Abyss
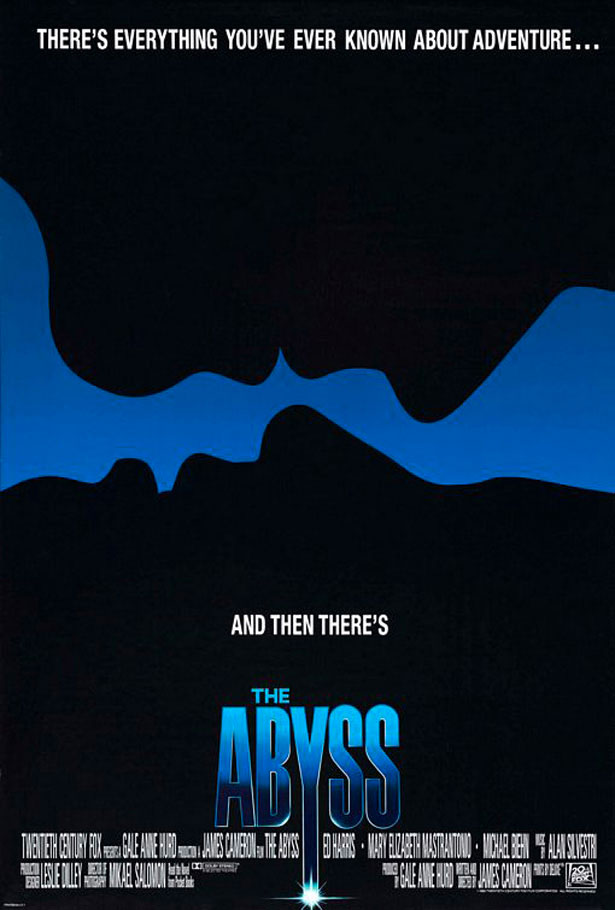
Minimalism was just as big back in the '80s! In this poster, two silhouettes are visible against a black background. The movie title is in blue, reinforcing the limited color scheme.
The Tutorial
Now that we've been inspired by the '80s, let's make our own design!
I will be using several resources in this tutorial, including stock vectors and textures. These files are either my own or were taken from the Internet.
Step 1
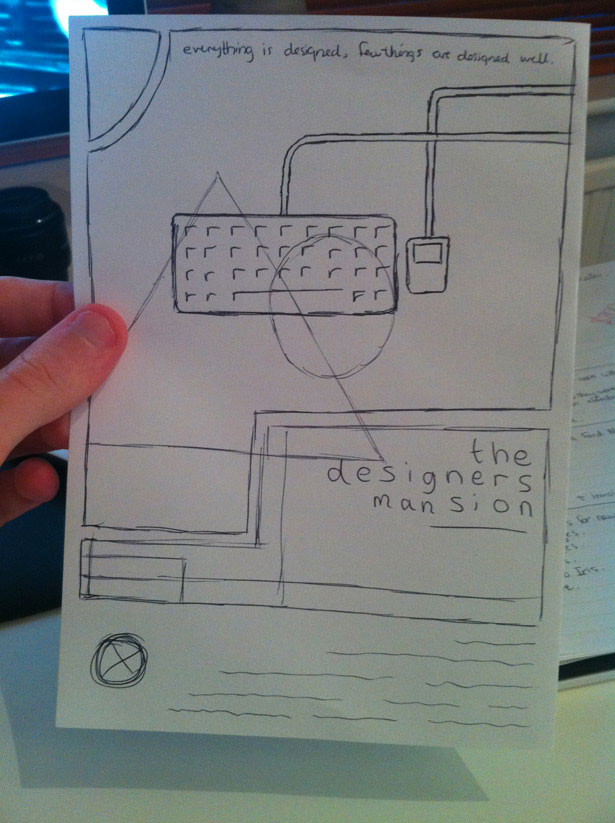
Grab a piece of paper and a pencil or pen. As with any design, sketching a concept first will be useful, to get a rough idea of the basic layout and shapes we want to use. Nothing is worse than opening a blank Photoshop document and having absolutely no idea where to start!
For the layout and shapes of my sketch I was inspired by the posters for The Blues Brothers, Under The Cherry Moon and The Last Temptation Of Christ. My typography was inspired by the one for A Little Sex.
Step 2
Open Photoshop and create a new document. Because I'm only designing for screen, I'll use an A4 document, set to RGB at 72 DPI. If your work will be printed, you'll need a much higher resolution-at least 300 DPI. You'll also need to set up bleeds and margins. Set your background color to a light beige or creme, something like #EFEBE0.
Select the Rectangular Marquee tool, then hold "Shift" and make a small square selection.
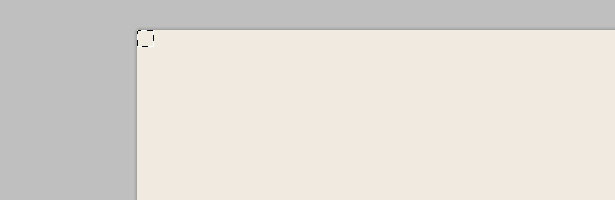
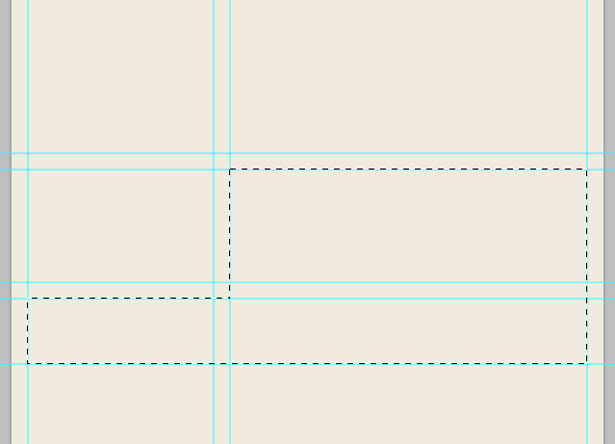
Show the document rulers by going to View → Rulers. Drag out a guide from one of the rulers, and snap it to the edge of your newly selected marquee. Repeat this process on each side of the canvas.
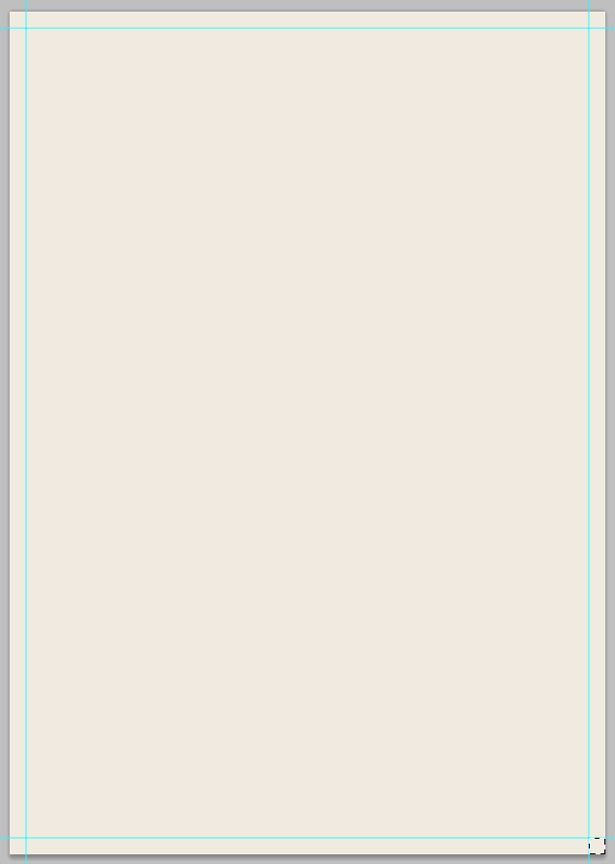
This is where our border will be. Drag out several more guides and place them where needed. Use your eye to measure approximately where they should go according to your original sketch.
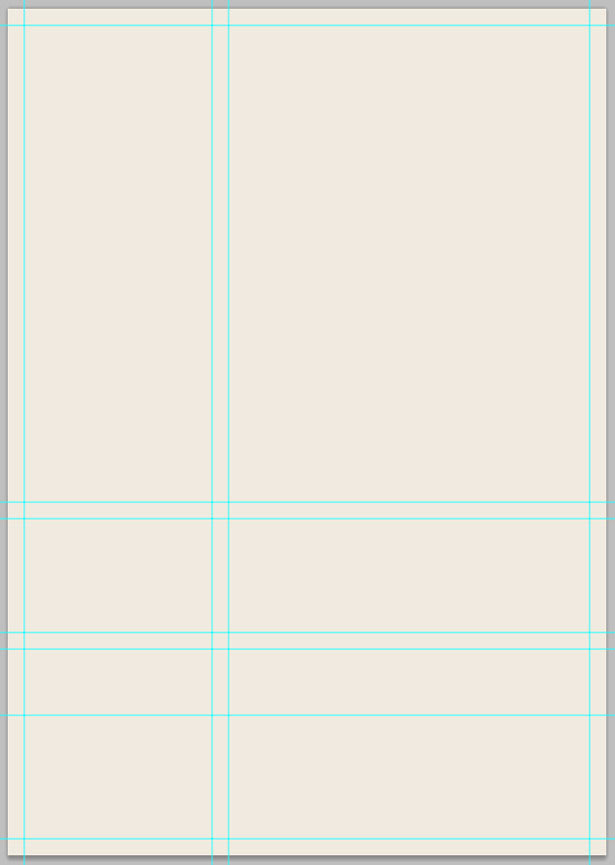
By referring to the above guides carefully, you should be able to spot our poster's basic layout and structure.
Step 3
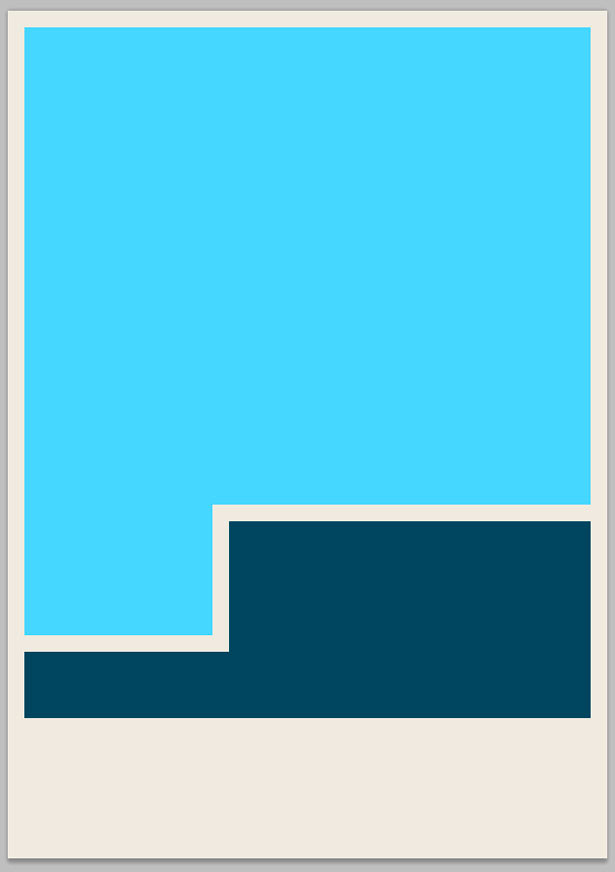
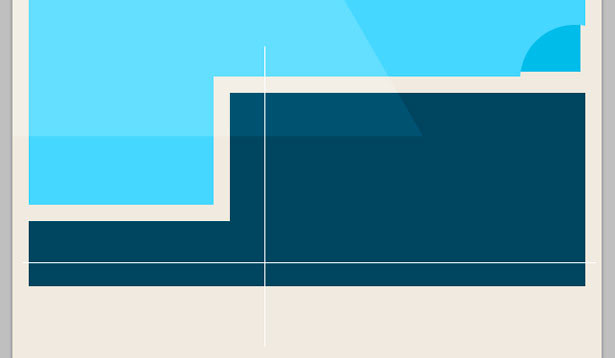
We're now going to fill in the areas that we created with guides so that we can remove the distracting lines altogether. With the Rectangular Marquee tool, select an area of the design, as seen in the screenshot below.
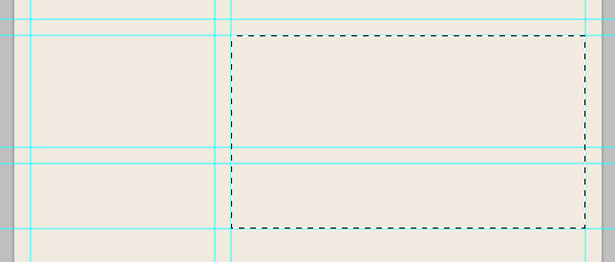
Hold the "Shift" key and select another area, ensuring that it joins the area you have already created. This will merge your two selections into one.
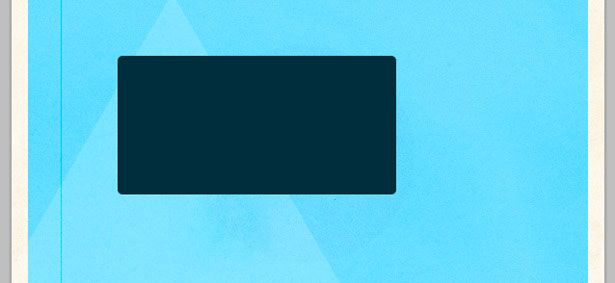
Go to Layer → New Layer to create another layer. Fill in your selection with a dark blue; I used #00445D. Name your layers appropriately, otherwise they'll be a nightmare to find later.
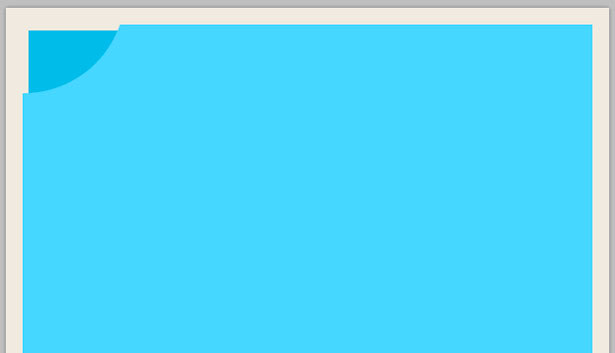
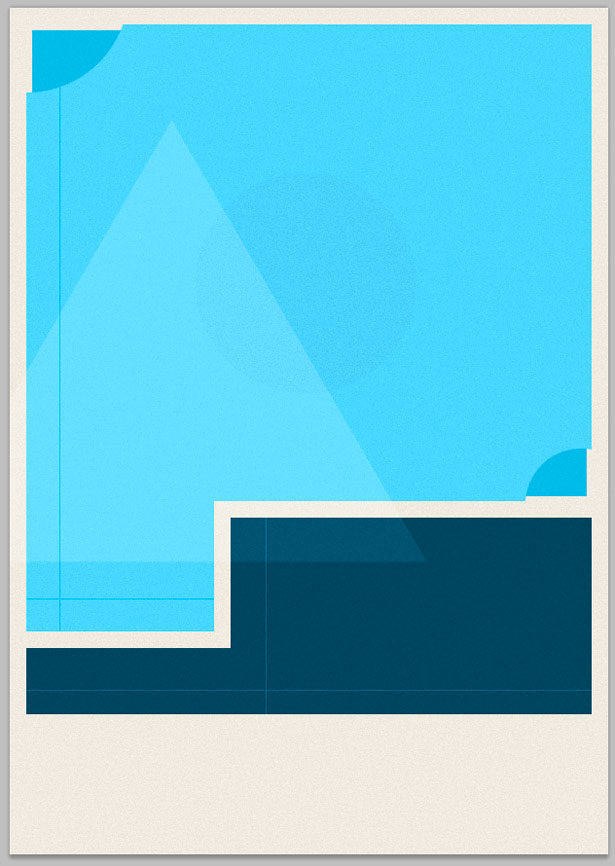
Fill in the other shape on your canvas using the same technique. This time I used a much lighter blue (#66D6FF). Go to View → Clear Guides to remove the guides, which we no longer need.
Step 4
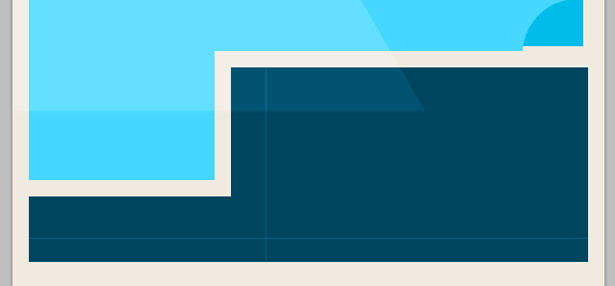
Now we're going to cut an area out of our lighter-blue shape and move it. Minor manipulations such as this will make the poster more visually interesting. Select the Elliptical Marquee tool, hold "Shift" to keep the circle in proportion, and drag out a selection. Reposition it over the top left of your shape.
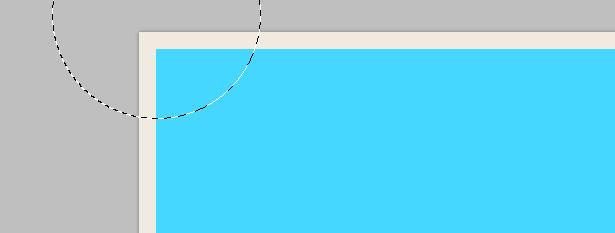
Select the light-blue background, then cut and paste your shape. Use your cursor keys to nudge the shape a few pixels down and to the right of its normal position. You should end up with something like this:
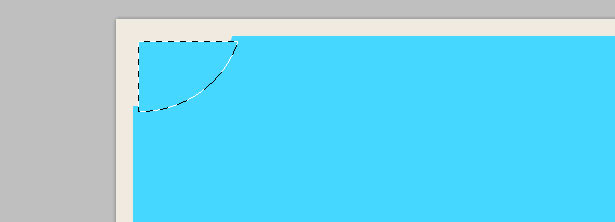
Change the color of the new shape. When you pasted the shape, a new layer was automatically created. Position this new layer beneath the light-blue background layer.
Try this in one or two other areas as well.

Step 5
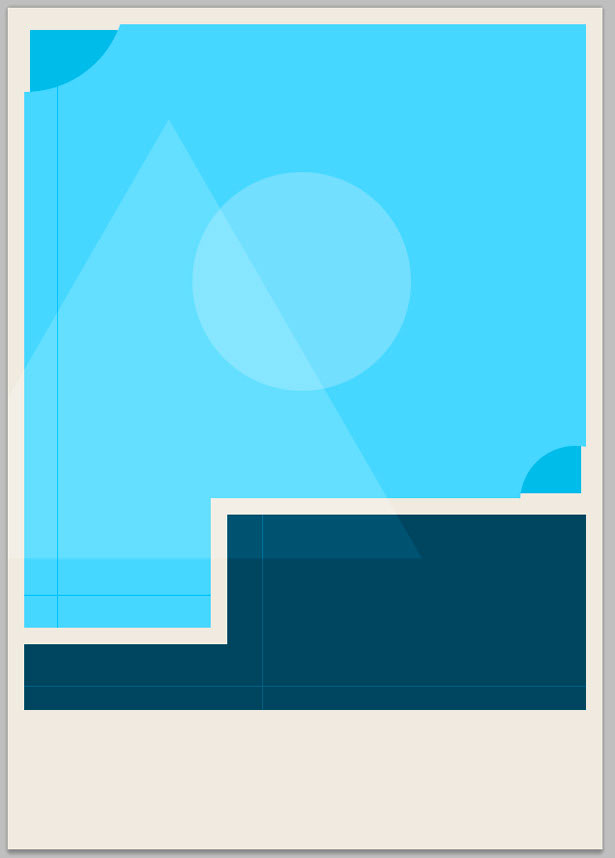
Now we're going to add other shapes to jazz up our design. Select the Polygon Shape tool, and in the toolbar set it to have three sides. Drag out a selection and hit "Shift" to position it correctly.
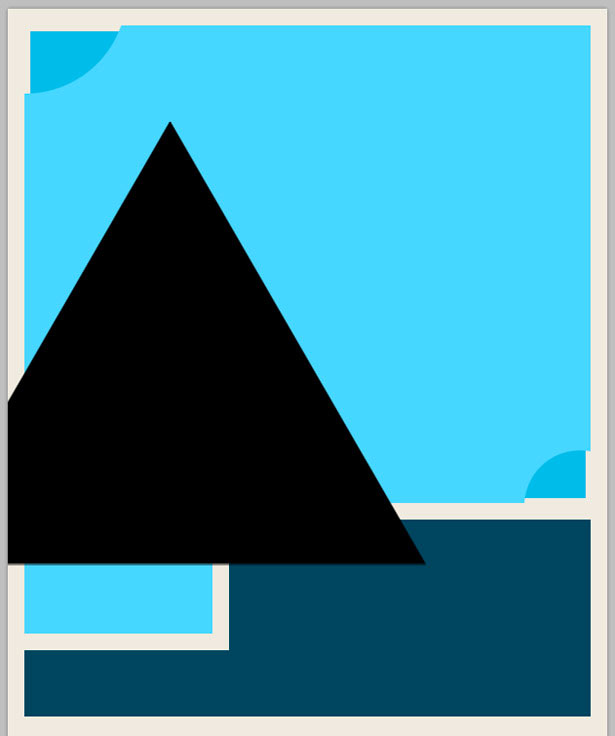
Change the color of the triangle to white, set the blending mode to "Overlay," and lower the opacity to around 20%. You should end up with something like this:

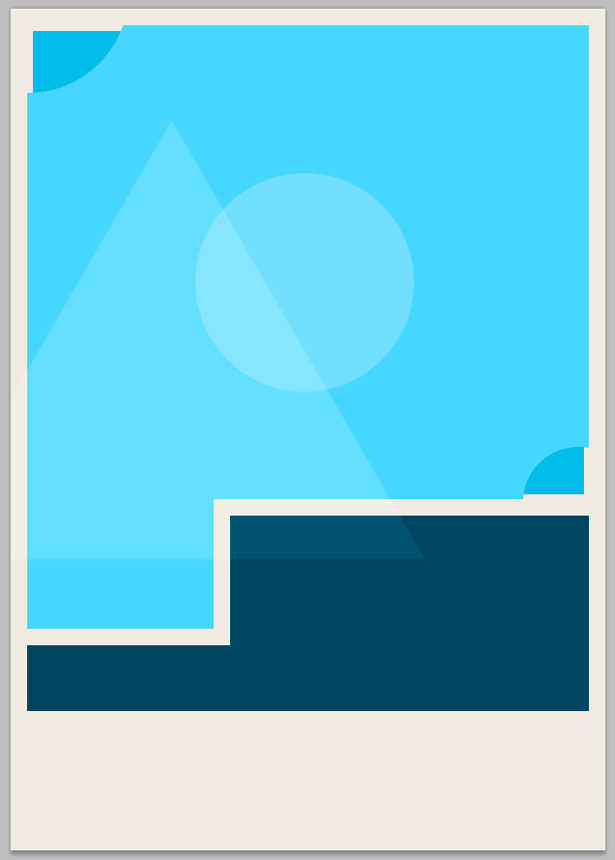
Repeat these steps, but this time make a circle. Experiment with different blending modes and opacity levels.
Step 6
Let's add some thin lines to our geometric shapes. Select the Line tool, and choose white as your foreground color. Hold "Shift" to keep your line straight, dragging out a line as seen below:
Repeat this process, drawing a horizontal line rather than a vertical one.
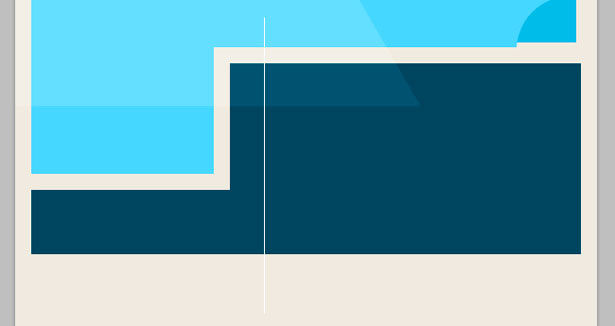
Select your two lines in the Layers palette, then right-click and select "Rasterize Layers." Merge the two lines by going to Layers → Merge Layers. Use the Rectangular Marquee tool to chop off any lines extending over the main shape. Change the layer's blending mode to "Overlay," and lower the opacity to 40%.
Repeat this process, but put a line on the light-blue background rather than the dark-blue background.
Step 7
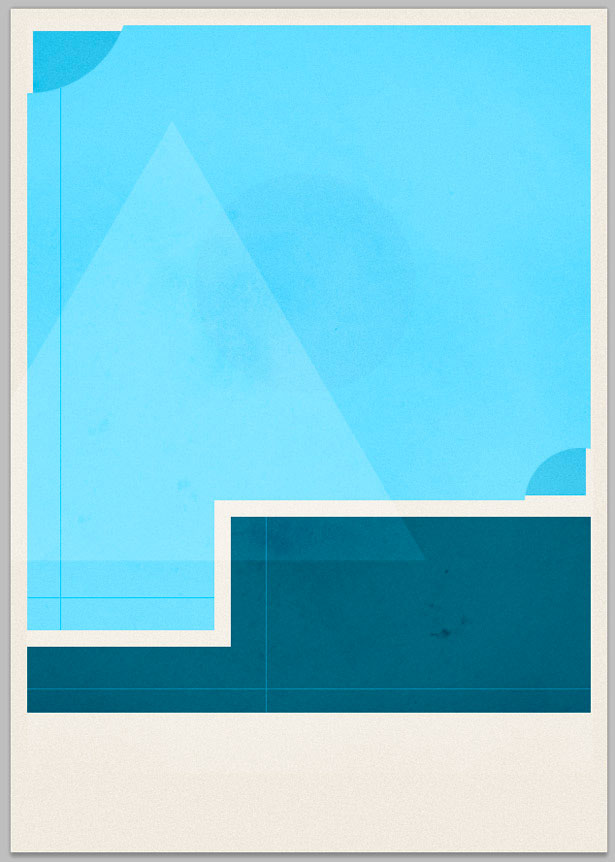
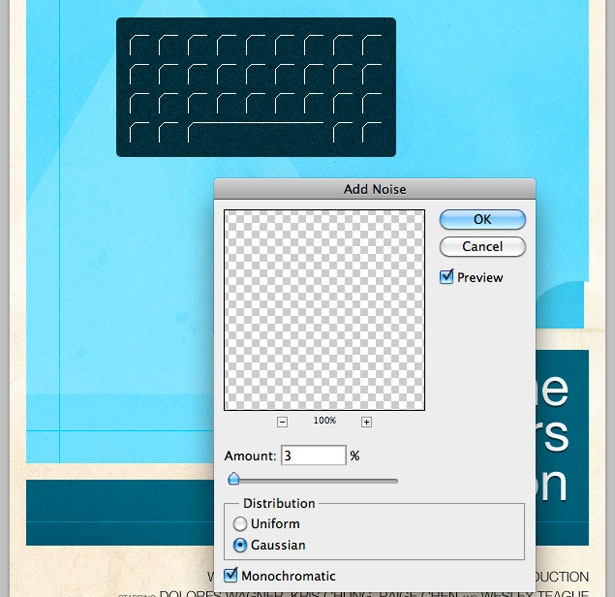
Let's add some texture and noise to our work. First, we'll add noise to our design using a built-in Photoshop filter. Select your background layer, and go to Filter → Noise → Add Noise. Add one pixel of noise and click "OK."
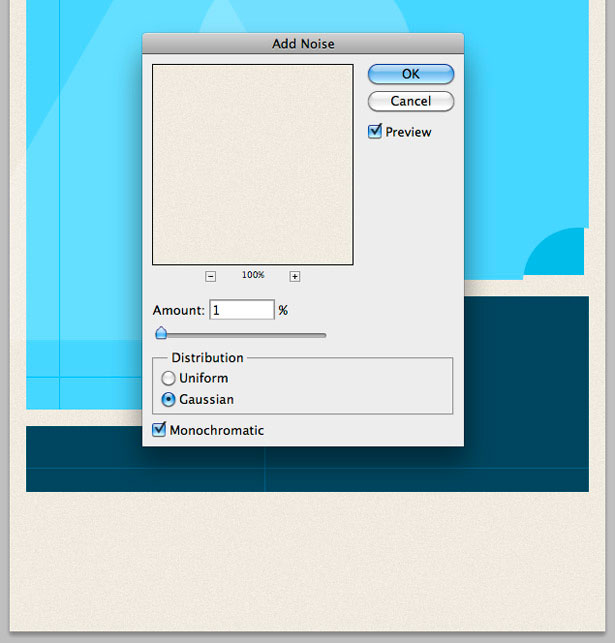
Repeat this step with all of the other shapes in your document apart from the one pixel lines.
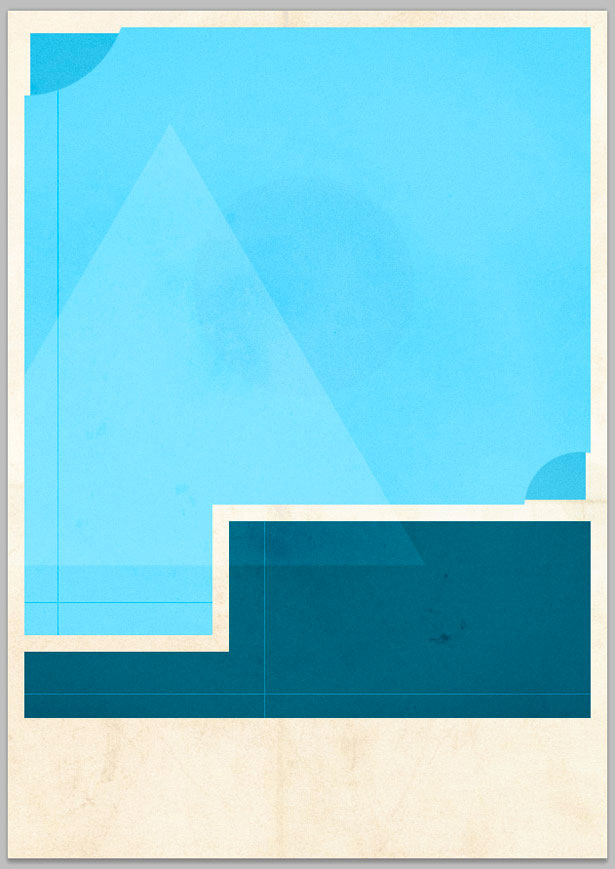
Go to File → Place, and insert one of your light grunge textures. I used the sixth one. Resize and position your texture so that it fits over the two blue shapes.

While your texture layer is selected, go to Layer → Rasterize, and then Image → Adjustments → Desaturate. This turns your texture to black and white. Change your texture's blending mode to Soft Light, and lower the opacity to 70%.
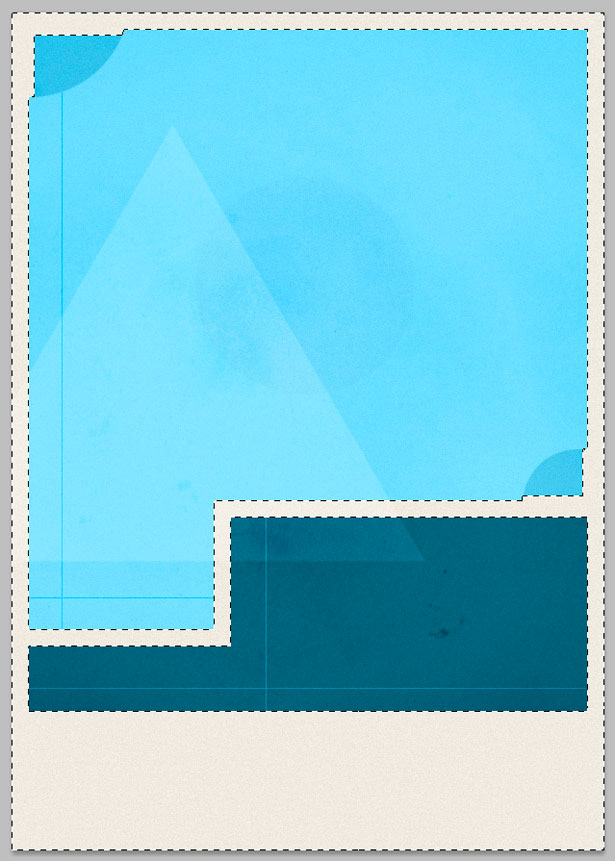
Select both of your main blue shapes and the manipulated corners by clicking on their thumbnails while holding Shift + Command. Right-click and choose "Select Inverse." Select the texture layer, and then hit "Delete." This removes any unwanted overlapping texture on the background or border.
To place one of your paper textures in the document's canvas, go to File → Place. Resize your texture to cover the whole canvas. I used the "Folded Basic" texture. Place the textures layer above the main background of your image and beneath everything else. Change the blending mode to "Overlay."
Step 8
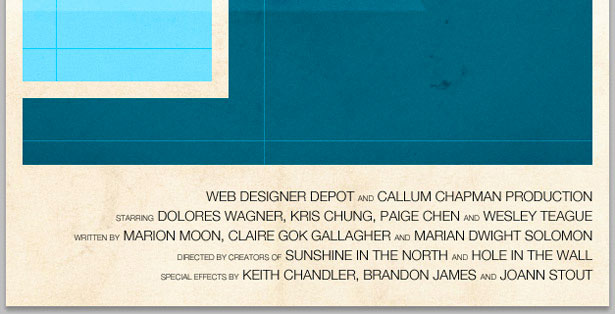
It's time to add typography to our poster. I'm going to use Helvetica Neue as my main typeface. We'll start with the type at the bottom of our poster, including the names of the producers and actors. You can use fake names from this very handy list: 10,000 Random Names Database. I used Helvetica Neue Light for my typeface, set to 14 pixels. Smaller words like "and," "Starring" and "Written by" are all set to 8 pixels.
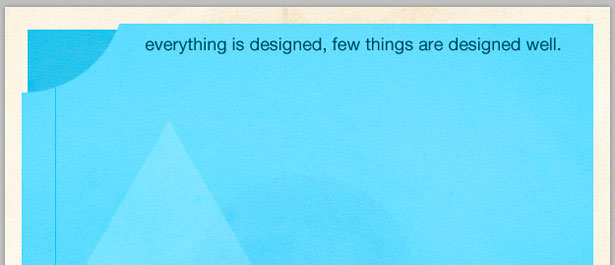
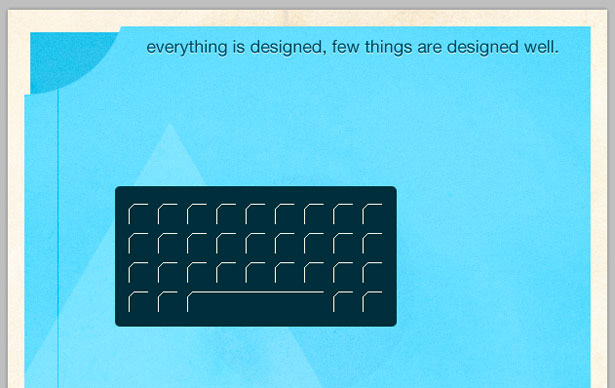
Now add a film tagline or slogan. I'm going to use this great quote by Brian Reed: "Everything is designed, few things are designed well." I used Helvetica Neue Regular for this line, filled with a dark blue at 18 pixels.
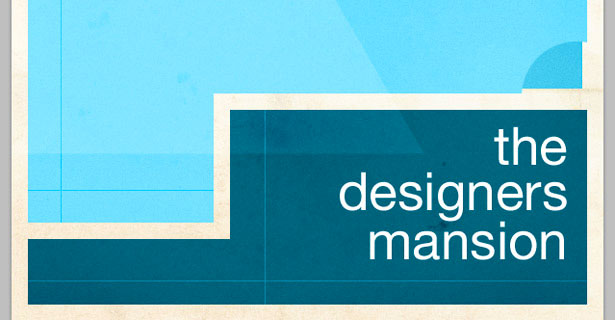
The last bit of typography to add is the movie title The Designer's Mansion, positioned in our dark-blue box. I used Helvetica Neue Regular, set to 55 pixels.
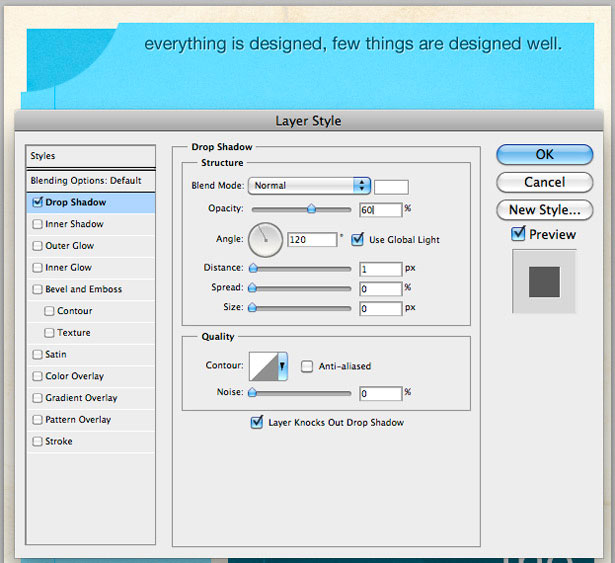
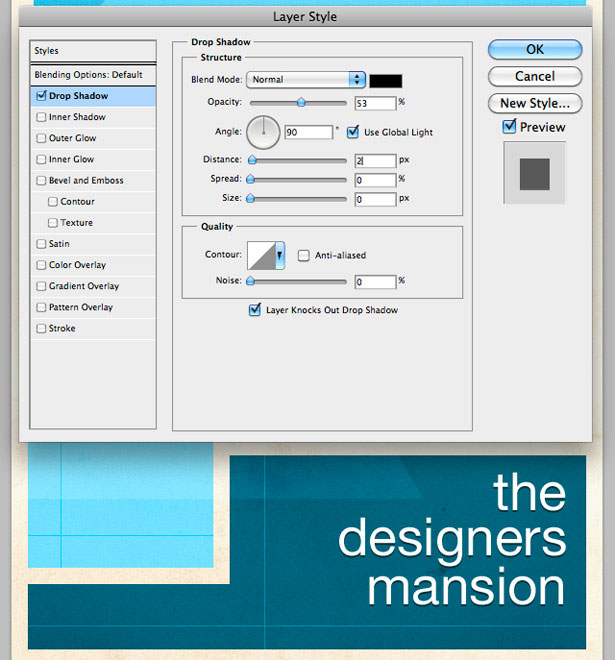
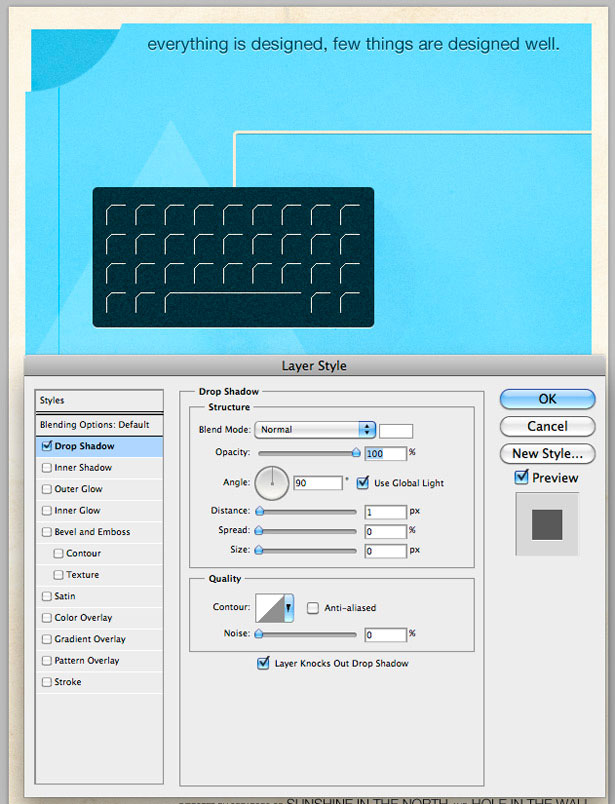
Now we're going to add drop-shadows to all of our text: a white shadow to the names at the bottom of the poster and the film slogan at the top, and a black drop-shadow to the title.
Select your slogan type layer, right-click and select "Blending Options." Click the "Drop Shadow" tab, and use the settings in the screenshot below to create a one-pixel drop-shadow. Repeat this step using the same settings for the names.
Finally, apply a drop-shadow to the title of your film, this time with a black stroke. The text is larger, so feel free to increase some of the levels, such as the distance. See my settings below:
Step 9
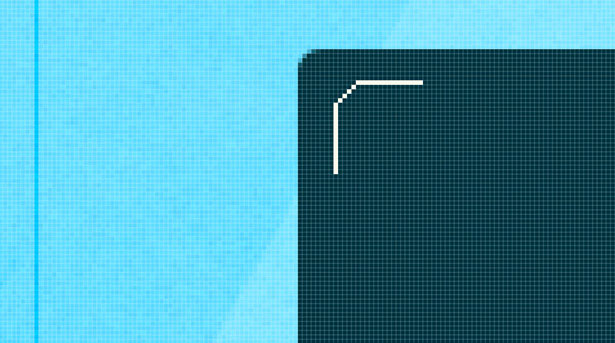
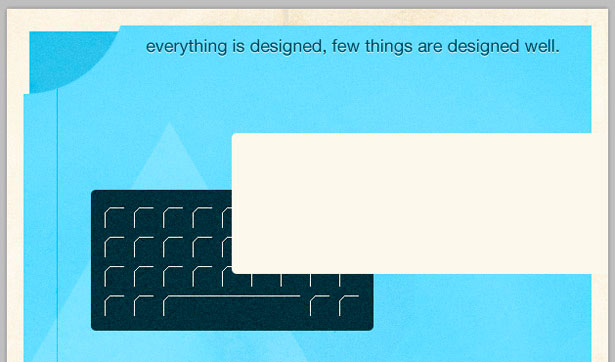
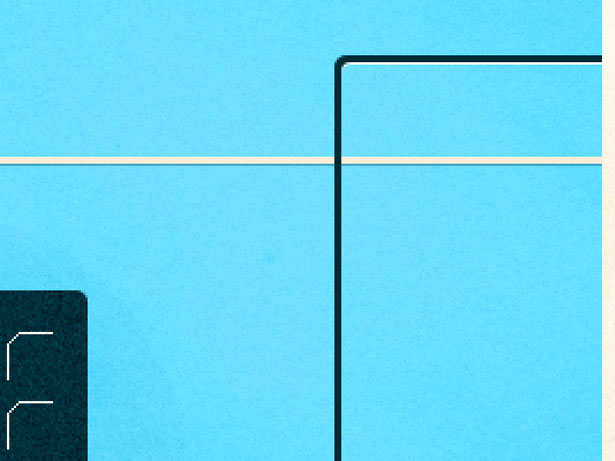
Now for a bit of pen work. We're going to create a minimalist keyboard and mouse, based on the old Macintosh keyboard and mouse, with wires running off to the right side of our poster.
First, we need to create our main keyboard shape. Select the Rounded Rectangle Shape tool, with a corner radius of 5 pixels. You can change this setting in the toolbar. Drag out your shape, and fill it with a dark blue. I used #002E39.
Using the Pencil Tool, draw a shape like the one below. Make sure to draw it on a new layer!
Duplicate the layer several times, and using the cursor keys spread them apart at an equal distance. Select all of the layers, and go to Layer → Merge Layers to put them into one layer.
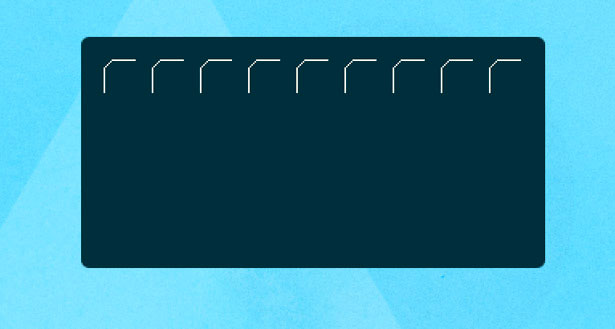
Duplicate your newly merged layer several times, and using the cursor keys nudge them down the page, spreading them evenly.
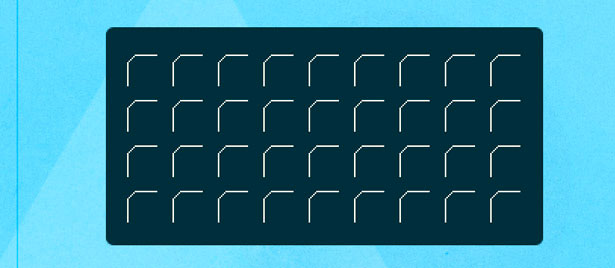
Merge your new layers once again, and then select the Rectangular Marquee tool. Make a selection over the four keys selected below.
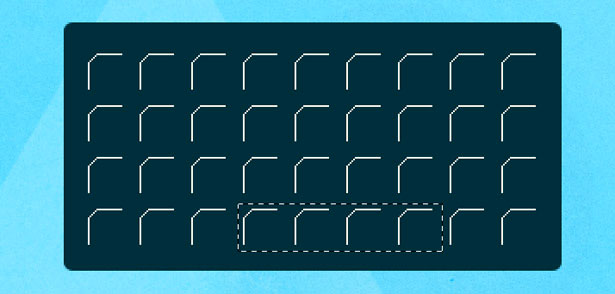
Hit "Delete," and then use the Pencil tool to extend the top line of the last key on the left.
Merge the two layers that make up our keyboard illustration by selecting them and choosing Layer → Merge Layers. Go to Filter → Noise → Add Noise to add 3% of noise.
Grab the Rounded Rectangle Shape tool, and draw a shape like the one below:
Hold "Command" and click on the layers thumbnail in the layers panel to make a selection. On a new layer, choose Edit → Stroke. Apply a 3-pixel stroke using a color from the background of your design. Delete the original shape layer.
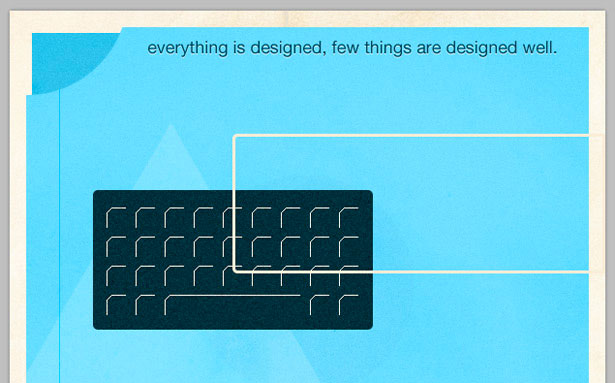
Using the Rectangular Marquee tool, select the overlapping stroked line.

Hit "Delete" to remove unnecessary areas of stroke. Add a 1-pixel drop-shadow to your keyboard and wire, like we did with the type earlier.
Step 10
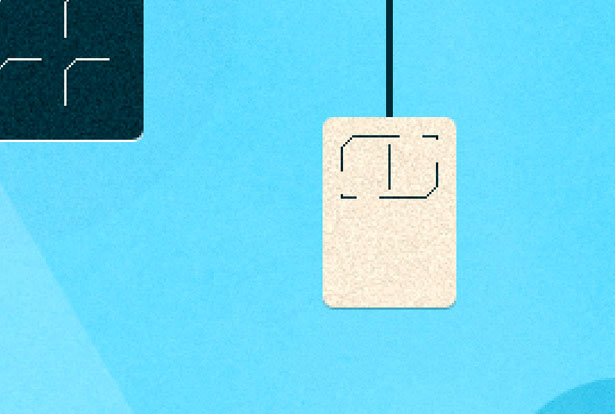
Repeat the previous steps, but illustrate a mouse.
Step 11
Add your finishing touches, whether they're more textures or some patterns. I used grunge brushes to erase several corners of the solid shapes.
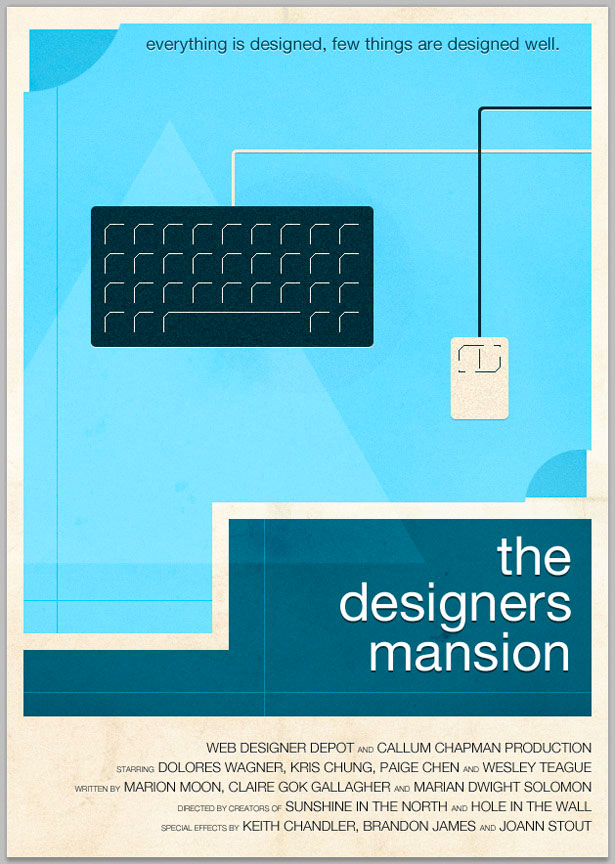
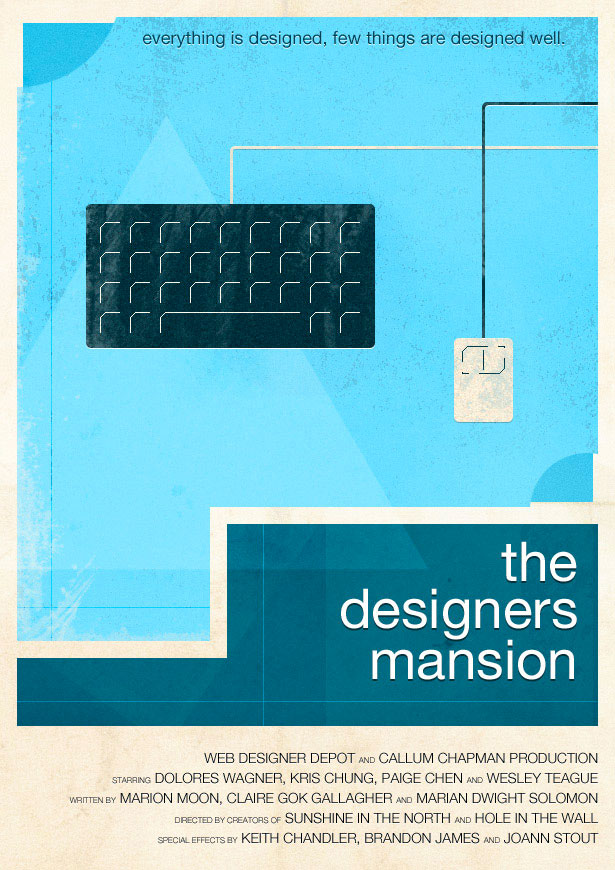
Here is my result...
The Outcome:
Written exclusively for WDD by Callum Chapman, a designer and illustration trading as Circlebox Creative. He also runs The Inspiration Blog and Picmix Store
If you followed this tutorial, please feel free to link to your final product in the comments area below. We'd love to see it!
WDD Staff


Read Next

15 Best New Fonts, July 2024

20 Best New Websites, July 2024

Top 7 WordPress Plugins for 2024: Enhance Your Site's Performance

Exciting New Tools for Designers, July 2024

3 Essential Design Trends, July 2024

15 Best New Fonts, June 2024

20 Best New Websites, June 2024

Exciting New Tools for Designers, June 2024

3 Essential Design Trends, June 2024

15 Best New Fonts, May 2024

How to Reduce The Carbon Footprint of Your Website
