How to take WordPress to the cloud with Amazon S3 & CloudFront


 Cloud computing is one of the buzzwords in the web design and computing industry that seems to have a very simple definition, but a myriad of uses. It is a phrase used to define the use of the internet and remote servers to store and manage data.
A popular example is Google Docs. You can create and work on your document on the internet, and when you save it, the file is also saved on the internet. Of course, while downloading it to your computer is always an option, most of what happens is on Google’s server.
There are a number of benefits to this method of working.
You can assume that since you are using a company as large as Google that all of your documents will be safe, plus you have reduced hard drive usage and are using less resources to create the document.
Today I want to talk about two cloud computing applications: Amazon Simple Storage Services (S3) and Amazon CloudFront. What these two services do is save files from your website onto Amazon’s remote servers, and serve these files to your user from multiple locations in the world to optimize loading time and file delivery, respectively. Amazon CloudFront is what’s normally called a Content Delivery Network, or CDN for short. There are many services like these available, but due to the flexible pricing structures of each, and the reliability of Amazon, they seem to be a fan-favorite for cloud-based services.
Now that you have a little background on cloud computing and the Amazon services we are going to be focusing on, what exactly are we using them for? Well, I am going to show you the simplest way to upload all of your WordPress website files to Amazon S3, and then use CloudFront to deliver these files in the quickest way possible.
Signing up for Amazon S3 and CloudFront
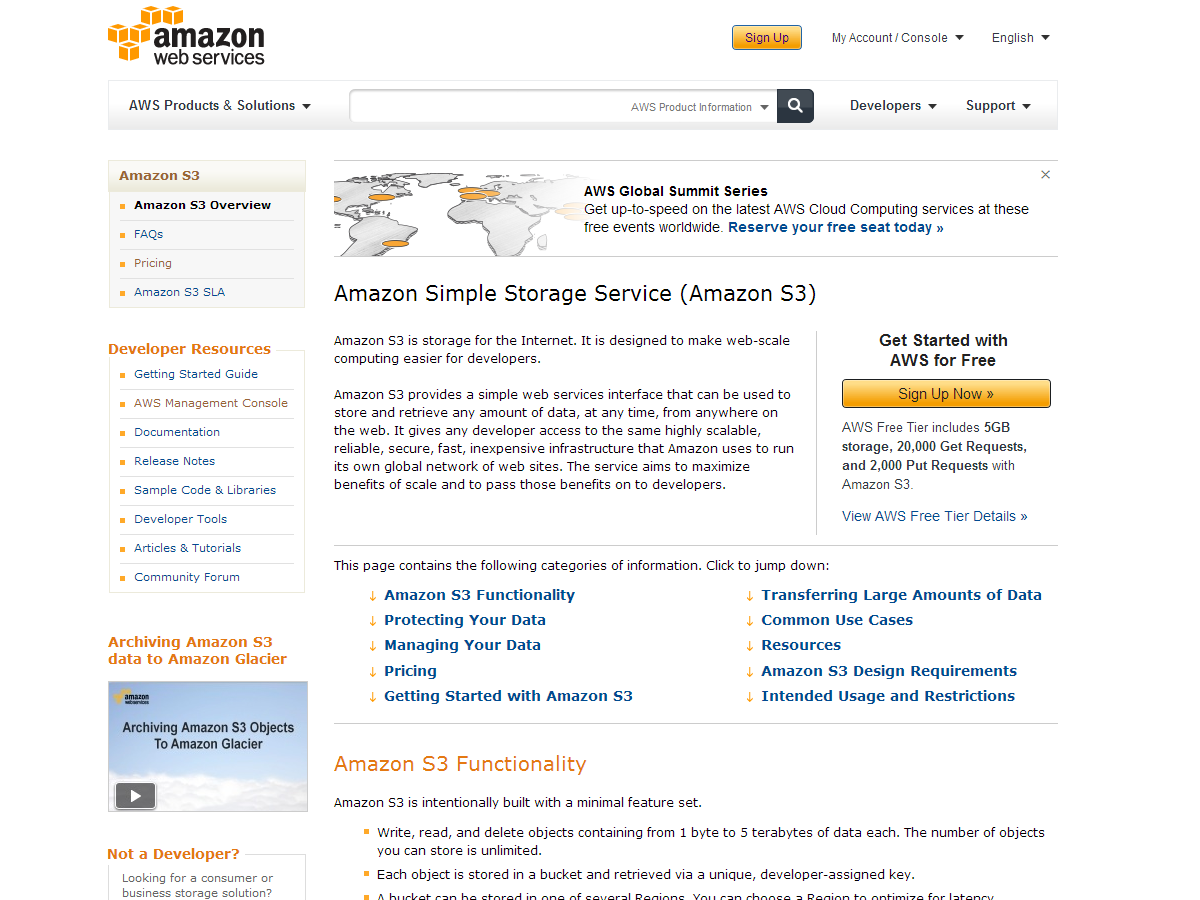
The first step to take is signing up for both Amazon S3 and CloudFront. You can do so by going to this page: http://aws.amazon.com/s3/, and once you sign up for one of the services, you will have all of them at your disposal. You only pay for what you use, which is what makes the services provided by Amazon so great. So once you’ve signed up, you can head on over to the Amazon Web Services (AWS) Management Console http://aws.amazon.com/console. Once you sign into the AWS Console, you can see all of the services that Amazon offers. The AWS Console is where you will manage any of the services you use, but for now we are just interested in S3, so go ahead and click that link.
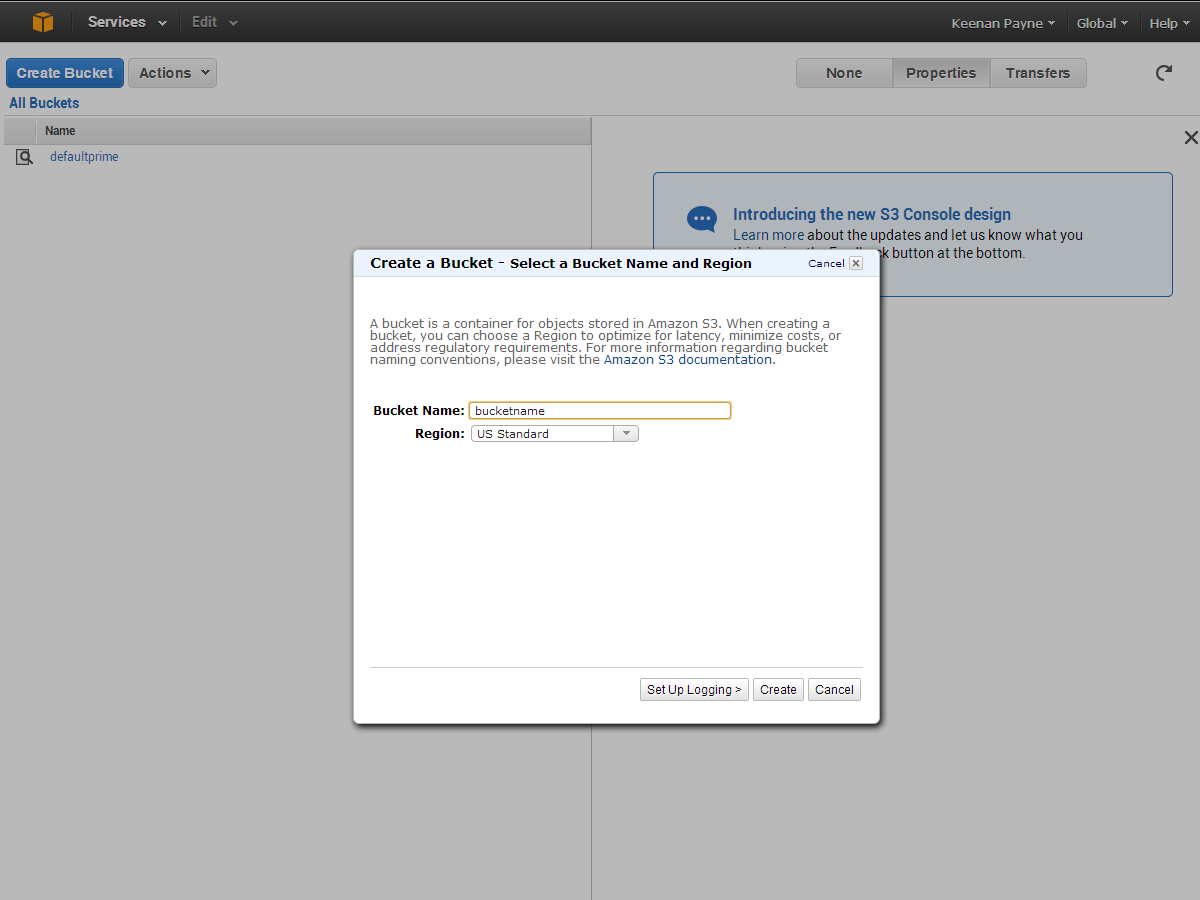
The user interface is pretty minimal and is actually super easy to work with. We are first going to click on “Create Bucket” to create the bucket for our WordPress site. A bucket is effectively a container for all of your files. All it does is identify what website we are storing files for, and then holds them. You can name your bucket whatever you want, but your website or project name would probably make the most sense.
Setting up a CloudFront Distribution
Now, we’ll stay in the AWS Console, but navigate to the CloudFront area by clicking “Services” in the top navigation.
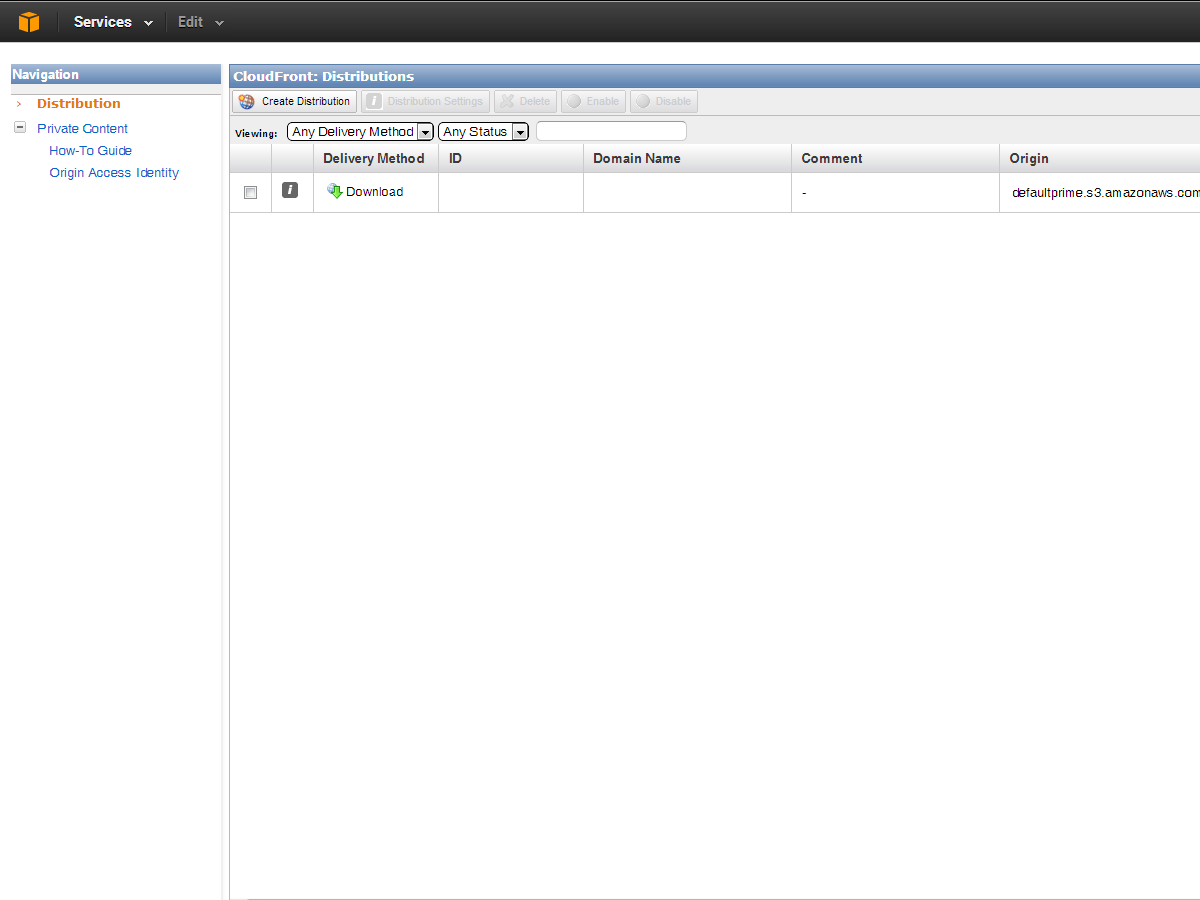
Now, all we have to do is click on the “Create Distribution” button, and from the two options select “Download”, as it will use the S3 bucket that we created previously. Click “Continue” and you can select the "Origin Domain Name", which will just be our S3 Bucket. Now click on “Create Distribution”. You should see the distribution show up on our CloudFront dashboard. Once the Status column says “Deployed” and State says “Enabled”, your website is moving from Amazon S3 to the CloudFront CDN.
Using W3 Total Cache and configuring S3
Now that we have our bucket created, we have to set up our WordPress site to communicate with S3 and start to upload all of our files. We are going to be using a popular WordPress Plugin called W3 Total Cache because not only does the plugin have features for easily working with S3 (and any CDN for that matter), it does a great job of speeding up your website using the best caching techniques — describing the caching side of W3 Total Cache is outside the scope of this article, but you can find a great tutorial here.
Once we have the plugin installed and activated, we are going to navigate to the General Settings within the plugin options. Once there, scroll down until you see the options for CDN. Make sure you check enable, and for CDN Type, scroll down to Amazon CloudFront underneath Origin Pull/Mirror, and click “Save all settings”.
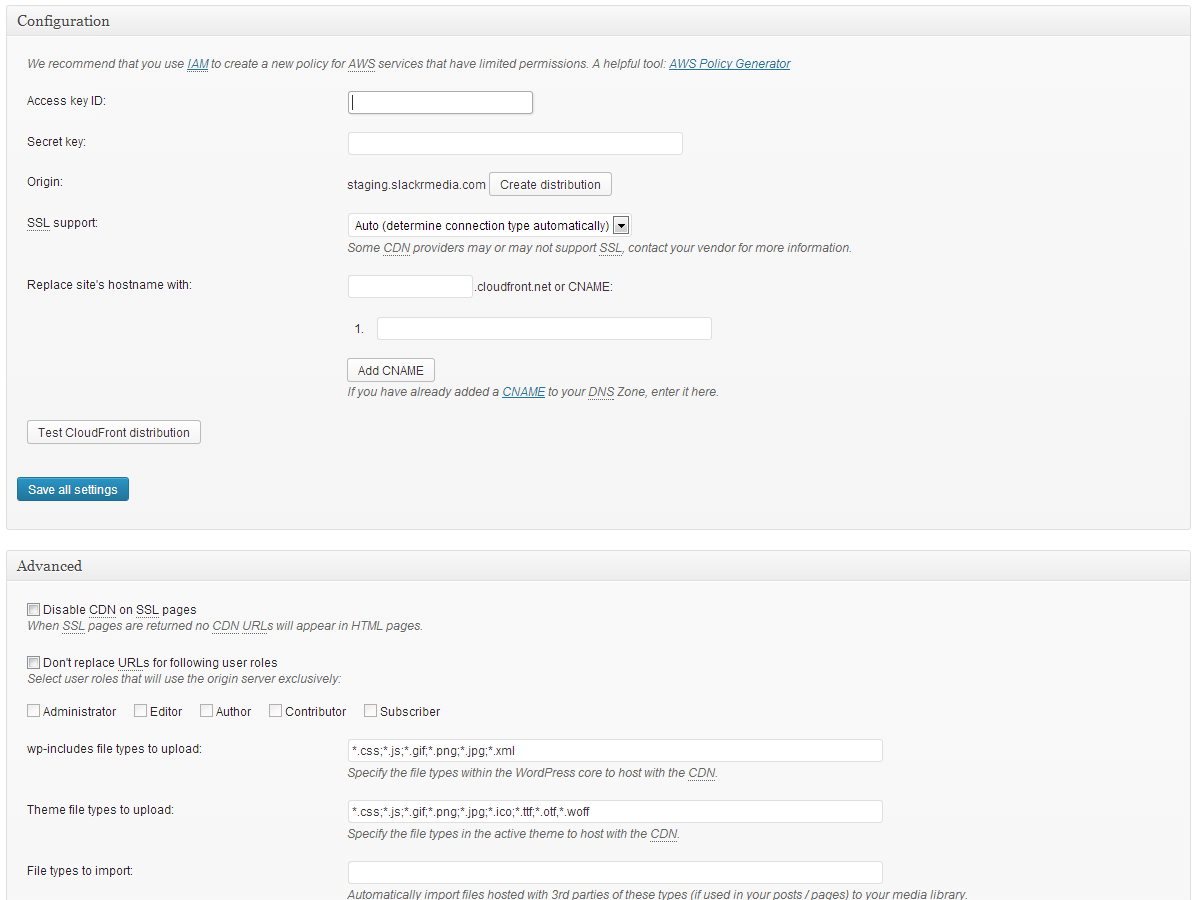
Once we’ve set CloudFront as our CDN, we can now navigate to the CDN page within the plugin options. Ignore the General options at the top, and scroll down to Configuration. Here we are going to enter in our Access key ID, Secret key, and tell the plugin what S3 bucket we want to store our files in. To find your Access key and Secret key, simply click your name when logged into the AWS Console, and click “Security Credentials” to receive the necessary information. Once you have that information in, your buckets should automatically come up, so just make sure the correct one you want to use is selected. Don’t mess with SSL support or CNAME for now, just click the “Test S3 upload” button. After a minute or so you should get a message that says “Test passed”. If you do not, you may have one of your keys wrong. Once you have passed the test save your settings and now we’ll start to work with the General settings on the same page.
Uploading the Files
Now that we have everything set up, it’s time to get to the exciting part. We are going to start uploading our files to Amazon S3 using W3 Total Cache. In the General settings for CDN, I recommend checking the following options and saving them:
- Host attachments
- Host wp-includes/ files
- Host theme files
- Host custom files
This will host all of your attachments, theme, and WordPress core files on S3 so almost your entire site will be served from Amazon S3. We are going to go in reverse order as we will be uploading our theme files first, then our wp-includes files, and lastly our host attachments. Go ahead and click on “Upload theme files” and you will see a popup come up.
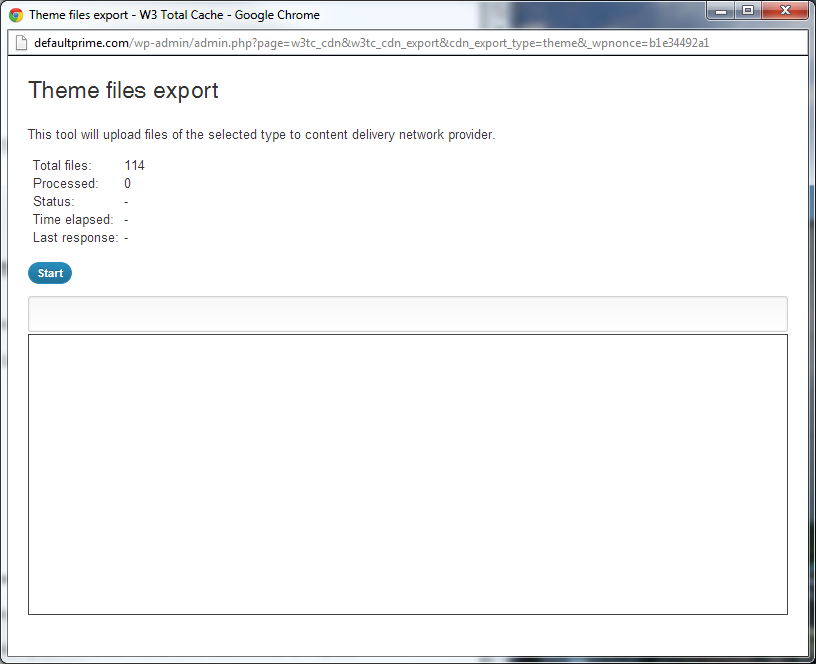
You will see the total number of files you have, and you can click Start. You will see progress as the files upload, and also identify any problems that may have occurred in the upload process. Uploading is usually pretty quick, and should only take a minute or two, depending on your internet connection, to upload the theme files. Next we will do the same thing for our wp-includes files and get those uploaded to S3.
I chose to do the Host attachments last because personally, that was the longest process of getting all of my files uploaded to Amazon S3. I have a large blog, with over 11,000 images. If you want to reduce the size of your images and consequently, the time it takes for them to upload to S3, I highly recommend checking out the WP Smush.it plugin. Now you can go ahead and upload all of your image attachments. It may take you a while depending on your internet connection and number of images. I had to let the service run for half a day just to get all of my images uploaded.

Congratulations, your website should now be hosted on Amazon’s S3 service, and all of the images on your website should be pulled from your Amazon CloudFront distribution; you can check by right-clicking an image and checking its location URL.
Configuring S3 and CloudFront using WP Super Cache
If you are more a fan of WP Super Cache, an alternative caching plugin for WordPress, you’re in luck: setting up Amazon S3 and CloudFront is just as simple as using the former plugin.
To start, you will need to install and activate the plugin. You activate the plugin by simply checking the “Caching On” radio button on the “Easy” tab of the WP Super Cache Settings. This will get the WP Super Cache plugin to start working.
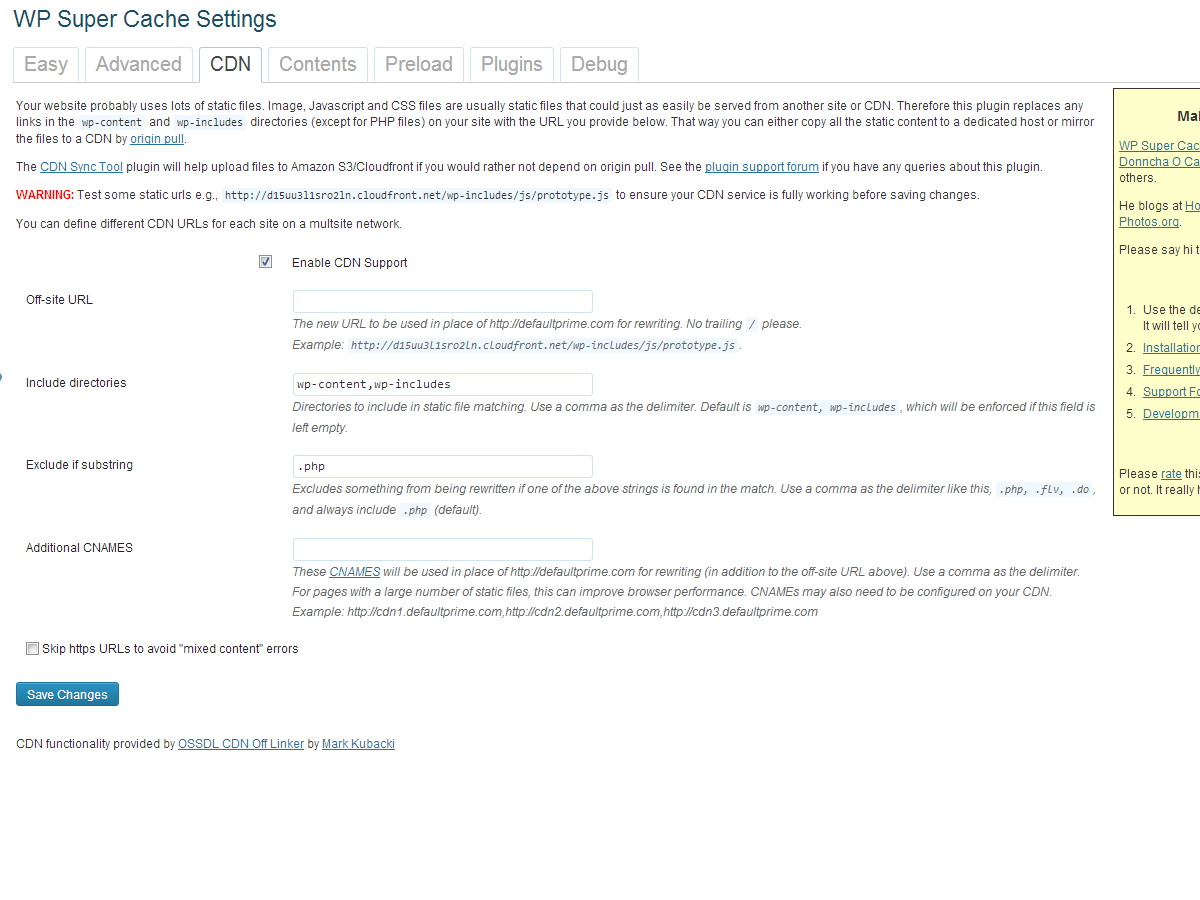
Next, navigate over to the CDN tab, and make sure “Enable CDN Support” is checked, and then we will enter in our CloudFront URL. You can find this URL by navigating to the AWS Console and looking at the Distribution that you just created, and it will be under the “Domain Name” column. It should look something like xxxxxxxxxx.cloudfront.net. Don’t change any other settings, just click the “Save Changes” button.
Unfortunately, the WP Super Cache plugin does not include a way to automatically upload all of our WordPress files to our Amazon S3 bucket. This means we will have to install the CDN Sync Tool plugin for WordPress. Install the plugin as you normally would, then navigate to the options page.
We will first be working with the CDN Options tab, and fill in our Amazon S3 information. Make sure S3 is selected from the CDN dropdown menu. Next, type in your Amazon S3 domain name, for example domainname.s3.amazonaws.com, and type in your Access Key and Secret Key, which you can retrieve by clicking your name when logged into the AWS Console and then clicking “Security Credentials”, and type in the bucket name that you used earlier in this tutorial. Click the “Save and Test Changes” button.
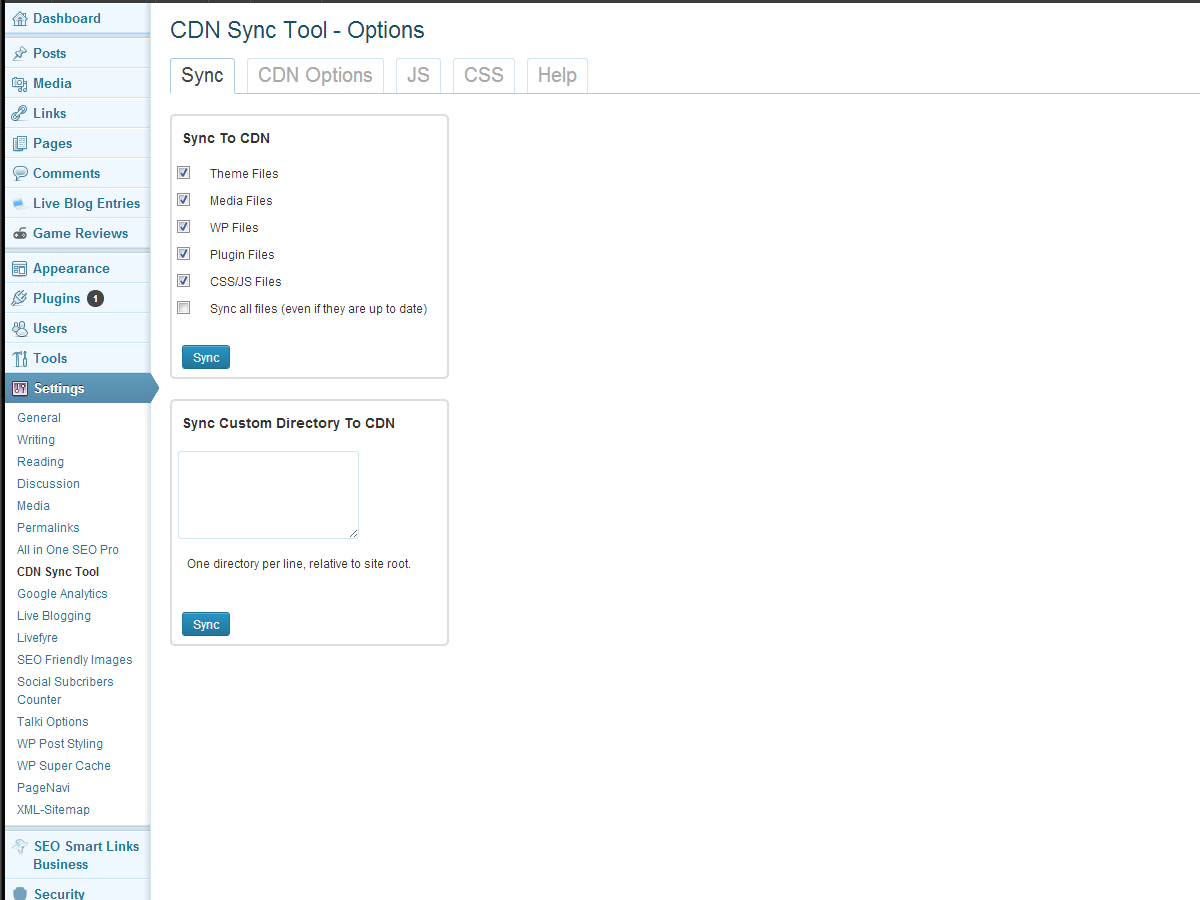
Navigate to the Sync tab, and select whatever files you want uploaded to the CDN. Click on the “Sync” button and this process will happen for you.
Now all of your files should be synced up with your Amazon S3 bucket and the WP Super Cache plugin should be serving all of your files through CloudFront.
Wrapping Up
That’s it. Your website should now be hosting all of its files from Amazon’s Simple Storage Service and distributing them through the CloudFront content delivery network using your preferred WordPress caching plugin. If you are like me and don’t want to continue hosting those pesky media files anymore to save your VPS space, here are a couple of plugins you might want to check out:
- http://wordpress.org/extend/plugins/wp2cloud-wordpress-to-cloud/
- http://wordpress.org/extend/plugins/amazon-s3-uploads/
Both of those plugins will upload files directly to S3 and make sure they don’t reside on your own server; be sure to read the description for both to see how they work.
Have you migrated your site to the cloud? What services did you choose to use? Let us know in the comments.
Featured image/thumbnail, cloud image via Shutterstock.
Keenan Payne


Read Next

15 Best New Fonts, July 2024

20 Best New Websites, July 2024

Top 7 WordPress Plugins for 2024: Enhance Your Site's Performance

Exciting New Tools for Designers, July 2024

3 Essential Design Trends, July 2024

15 Best New Fonts, June 2024

20 Best New Websites, June 2024

Exciting New Tools for Designers, June 2024

3 Essential Design Trends, June 2024

15 Best New Fonts, May 2024

How to Reduce The Carbon Footprint of Your Website
