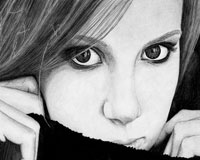
Simply put, a portrait is a representation of a person.They usually focus on a person's face, mood and expression.
Traditionally portraits were sculptures or paintings however, in modern times, a photograph is the most recognized way of taking a portrait.
In most cases, the subject looks straight at the camera in order to engage the viewer.
In this article, we'll be giving you simple techniques to help you take portraits and also self portraits, to make the very best of your photos.
At the end of the article, you'll find a showcase of great portraits and self portraits that you can use for inspiration.
How to Take a Portrait
Capturing quality portraits is an art that’s mastered with time. Many of the most creative professionals started out by following a simple set of guidelines.
1) Choosing the Right Background
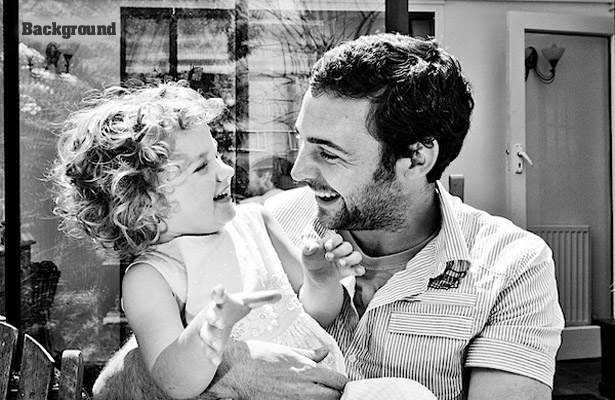
The background will set the mood for your photo, so be extra careful when choosing yours. The ideal background will guide the viewers' focus to a specific area that you wish to draw attention to, for example, the face.
A neutral, soft colored background will work best and is far more effective than one that is filled with too many details and colors.
You may wish to also blur the background, in order to further emphasize the foreground elements.
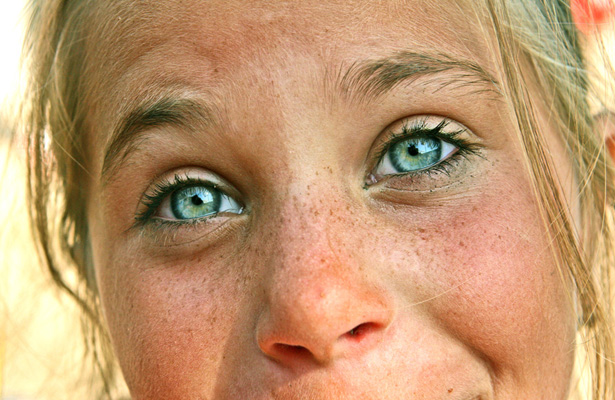
2) Focus on the Eyes
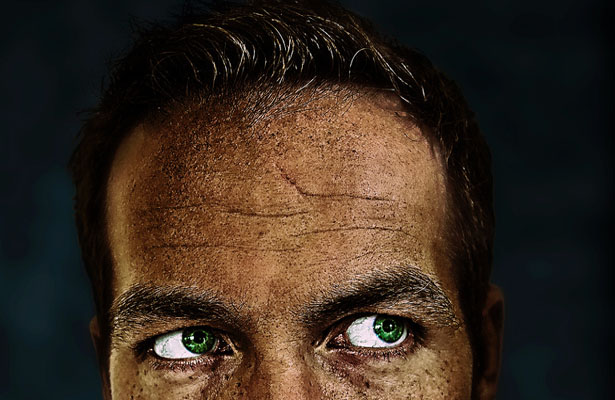
As the saying goes, "the eyes are the window to the soul".
Different feelings can be conveyed, depending on the direction in which the subject's eyes are pointing. Play with this by having your subject look in various directions, until you are happy with the feeling that is portrayed.
Adding extras such as a smile, frown, or grin is a bonus that amplifies the main focal point of the photo.
3) Lighting, Lighting and more Lighting
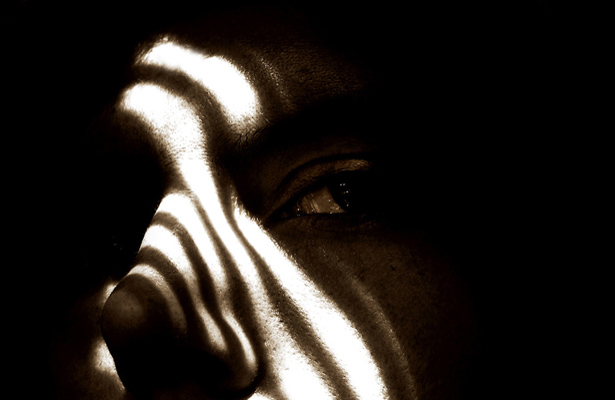
The possibilities for lighting are truly infinite. Lighting is the most important element in any photo composition and sets the mood, feeling and character of your photo.
Sunlight can be a bit tricky. If you take a portrait in the daytime, make sure that your photo is not overpowered by the sun.
4) Positioning and Angles
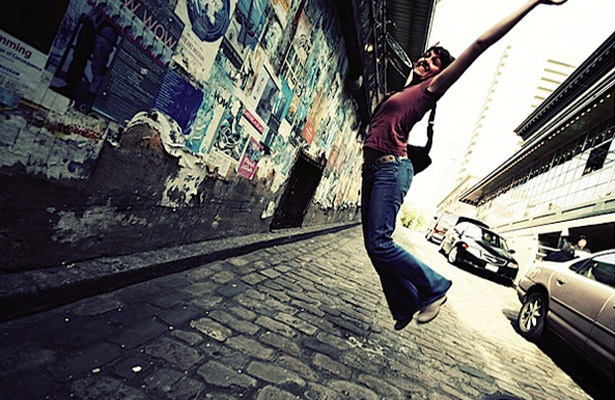
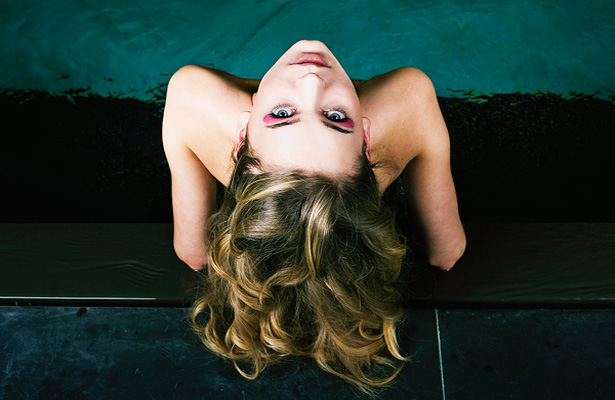
Don’t limit yourself to horizontal and vertical portraits; after all, those aren’t the only two angles that exist.
Positioning your camera at creative diagonal angles can add a fantastic artistic flare to your image.
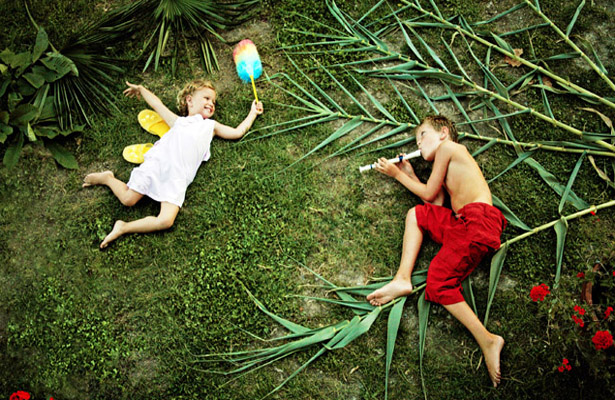
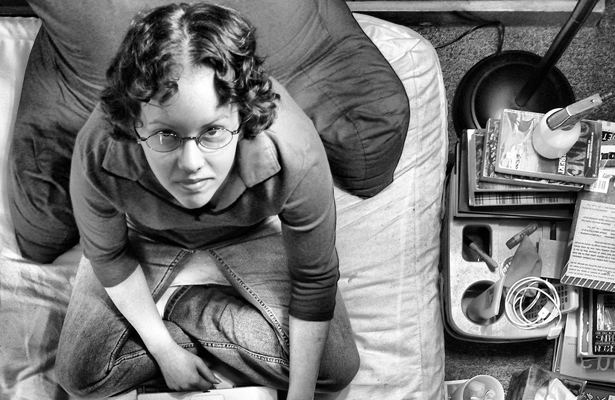
An easy mistake to make is to only slightly position your camera at an angle, which can leave your viewers wondering if this was intentional or a mistake. If you're going for an interesting angle, make it obvious and clear that that's what you intended to do, as shown in the example below.
How to Take a Self Portrait
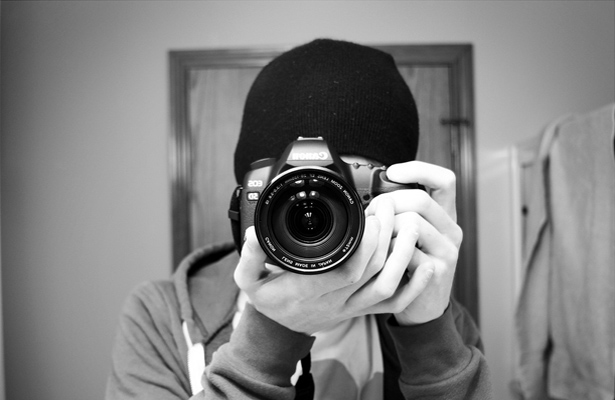
Like most photography techniques, there will be a lot of trial and error involved to get the best results for a self portrait. You’ll usually have to shoot photos over and over again, trying to achieve a perfect combination of pose, coverage and focus.
This is because a self portrait is one of the best ways to express oneself and to portray your personality, which is not easy for most people to do.
For each method below you’ll first set the camera to auto-focus and then change the setting to manual focus. This prevents the camera from refocusing while you move around to the front and get ready to take your photo.
1) The Camera
You can start by setting the camera on self-timer mode to shoot your photo however, a remote will certainly come in handy and will probably be almost essential for self portraits. You can likely get one for around $20 and having one will significantly simplify the process of taking a photo of yourself.
2) Coming to Terms with the Shots
There are times when it’s probably going to be difficult to relax in front of the camera. This can cause your portraits to end up looking stiff and lifeless.
In this situation, simply do whatever you'd normally do to relax either before or during the shoot. For example, you may wish to listen to music, sing a favorite song, or think of something that would relax you and make you feel at ease.
3) Editing your Photo
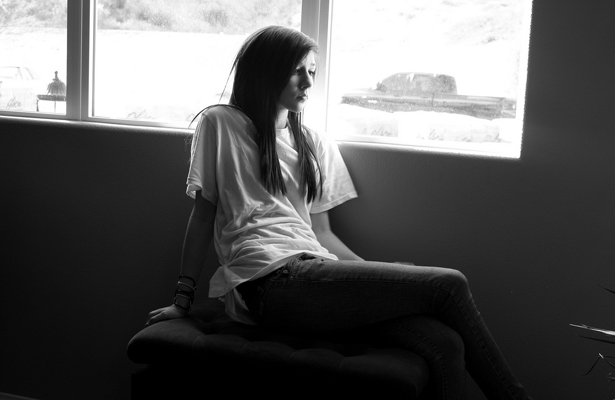
Once you have a few shots that you think portray what you believe should be your self portrait, it’s usually a good idea to edit the photos further.
It’s rare that a photo will come out perfectly just like as it is. Most times they require cropping, resizing, etc...
Experiment with framing, cropping, lighting and saturation until you're satisfied that the photo truly represents you in the best possible way. You can use any photo editing software to do this, such as Photoshop.
How to Take a Black and White Photo
Black and white portraits can communicate on a level that color photos simply cannot. They direct the attention to the composition, lighting and shadows.
1) How You’ll Take the Shot
If your intention is to create a black and white photo, start by taking the photo with this in mind as opposed to shooting in color and then switching to greyscale.
Simply put, an original black and white photo will most likely display better in quality than converting a color photo.
2) Perspective
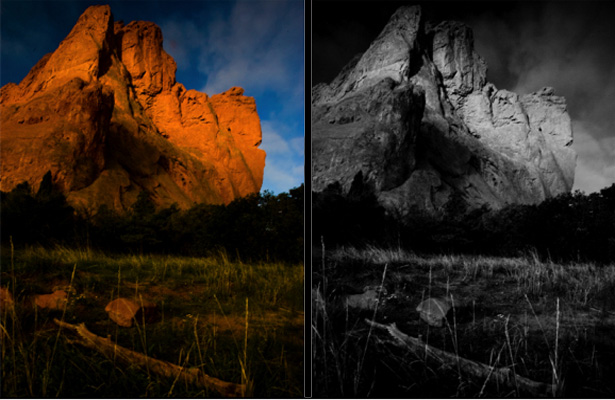
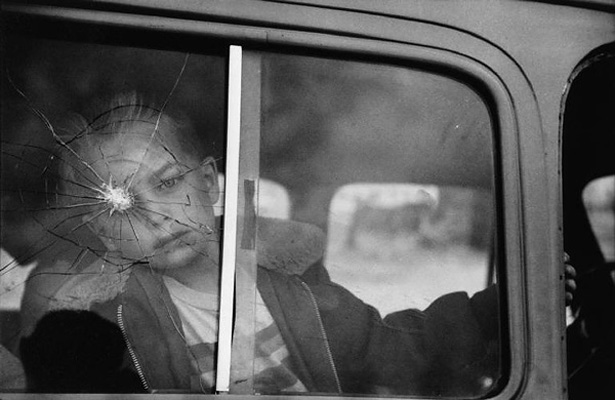
When you add your own perspective to your photos, you allow your viewers to take a look inside the meaning behind the subject being photographed.
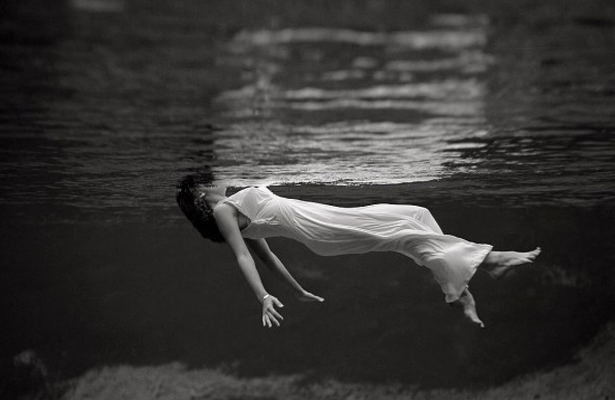
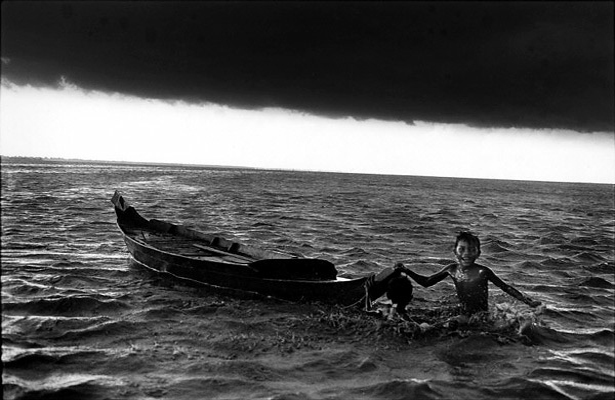
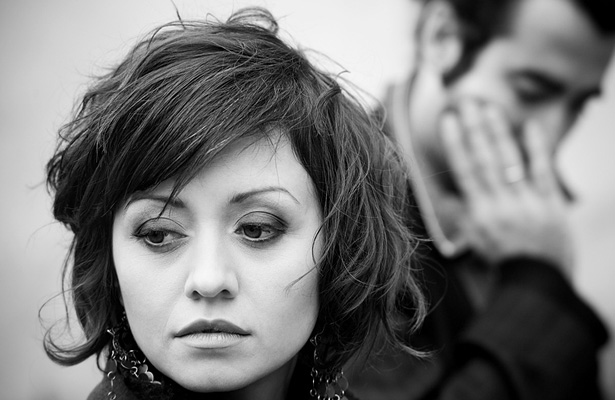
Depending on what you’re photographing, you should be mindful as to how your photos are going to be interpreted. See the image below for a photo that could be interpreted in multiple ways.
3) Eliminate Cluttered Backgrounds
Black and white photos communicate best when they have uncluttered and simple backgrounds.
You can address this issue by repositioning the object or person, or by blurring the background. This way, the background does not interfere with the focus of your photo.
Leave out random and insignificant elements, as these will create confusion and compete with the viewer's attention.

4) Backlighting and Useful Shadows
Lighting is certainly essential in any photo, especially in black and white photography. As colors are absent, the focus changes to light, shadow and the interaction between these.
Thrive for a balance that allows just enough light in, so that the image is visible and all elements can be clearly made out. There should be just enough dark elements so that that these can block out any distractions that may be caused by too much lighting.

Tips and Tricks
- Experiment with photo editing and make the most of your photos using Photoshop
- Match the textures in the person's face with the background
- Frame the subject, for example through a window, a box, etc...
- Break all rules of composition
- Overexpose/underexpose the subject
- Take portraits candidly without the awareness of the person being photographed
- Posing: experiment with having the subject pose in engaging positions
- Capture what's different about the subject, don't go for the obvious
- Use shadows and reflections as your subjects or to complement them
- Experiment with macro photography
- Crop your photos to isolate unique aspects of your photos
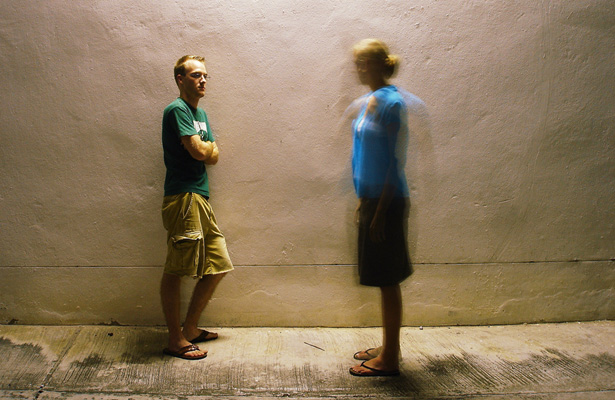
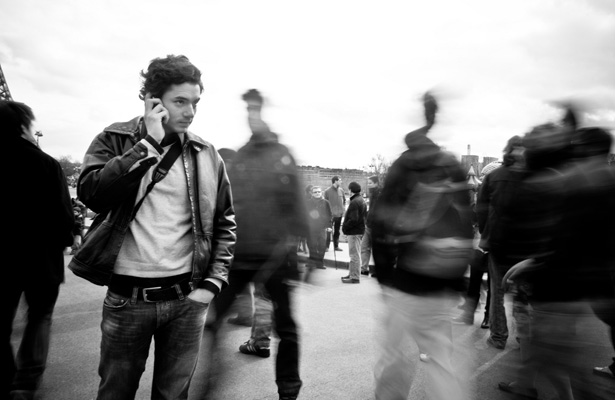
- Blurred images can make great portraits as they symbolize movement
- Place subjects in unfamilar situations or places and get them out of their comfort zone
- Use props to create interactivity
- Obscure or highlight a part of their body
- Control the light
- Have the subject look off the camera or look inside the actual photo
- Experiment with different lenses and filters
- You've heard it before, but it never hurts.... 'Think outside the box'
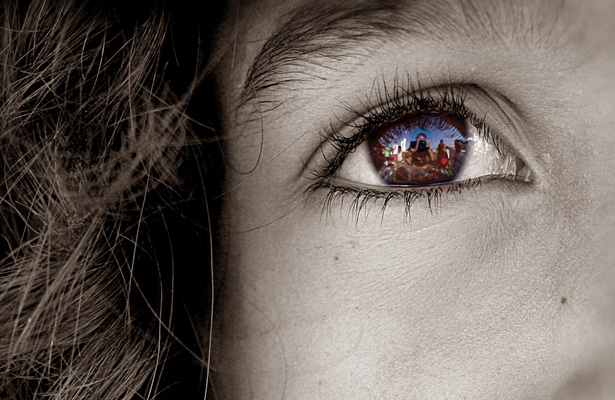
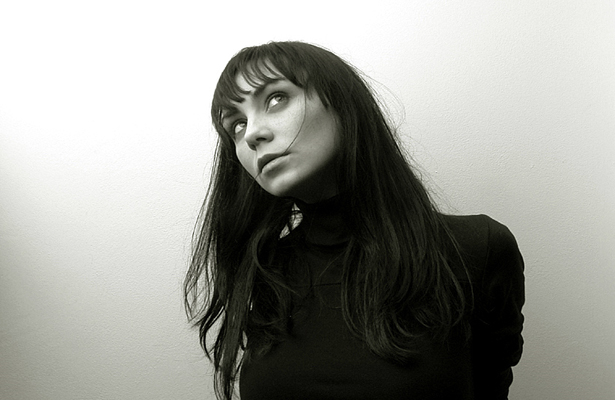
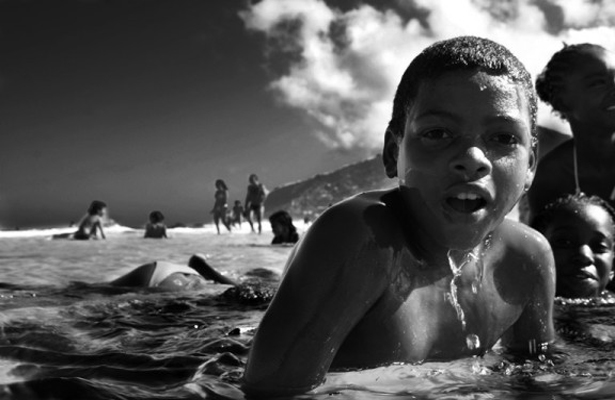
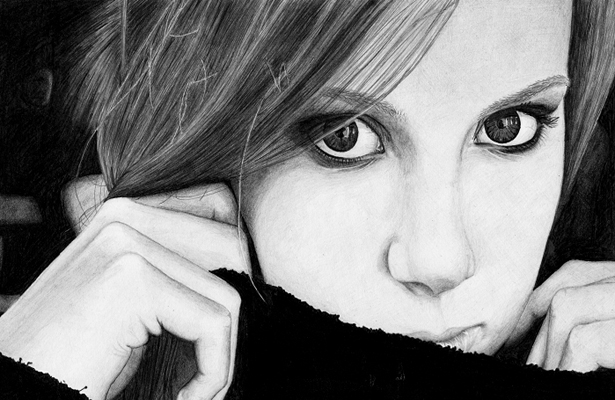
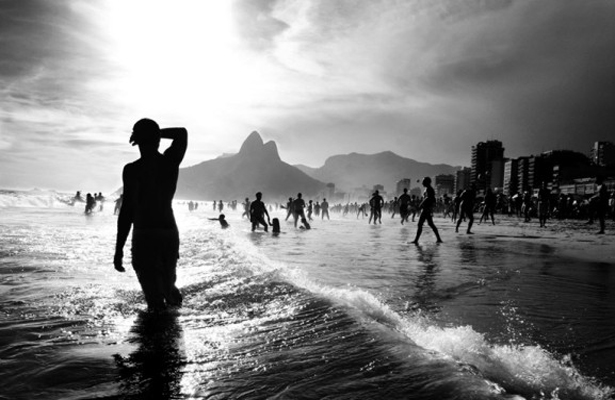
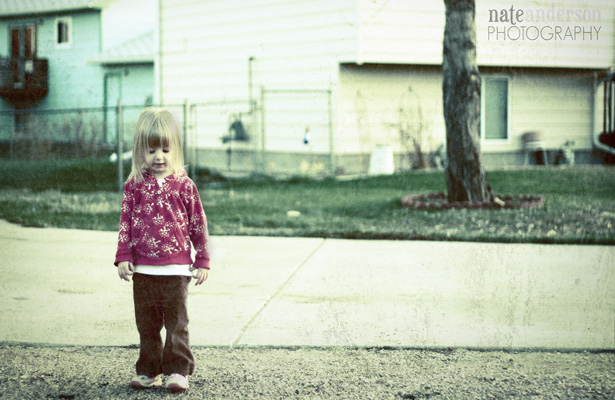
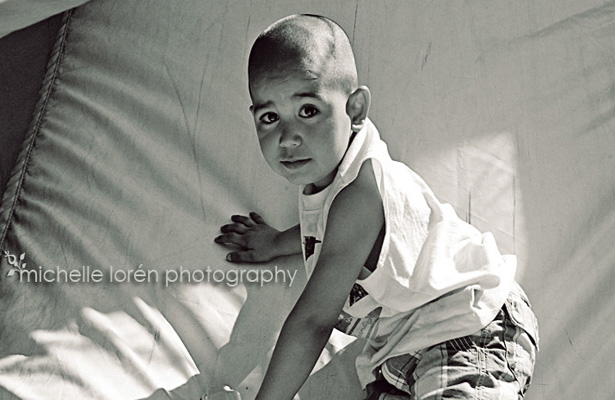
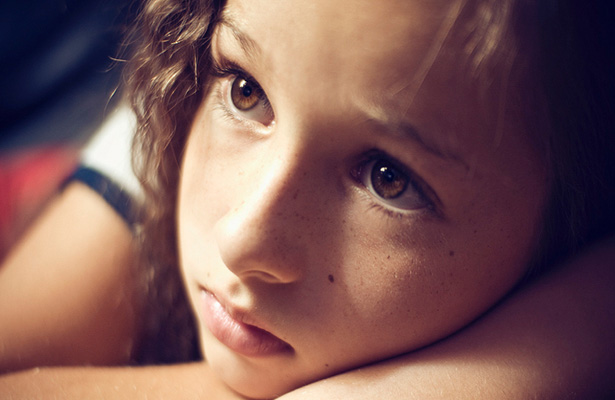
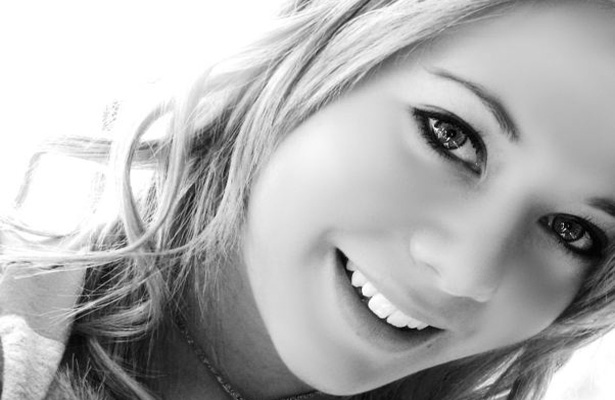
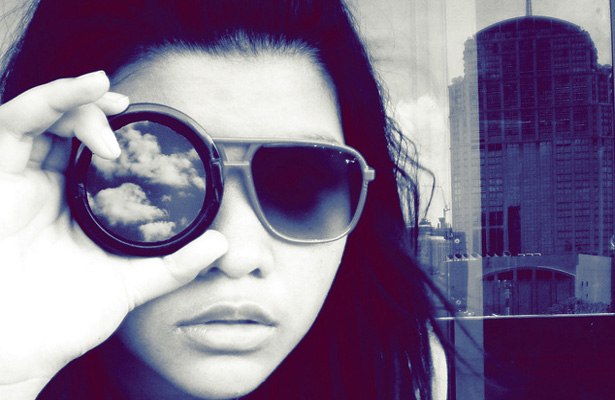
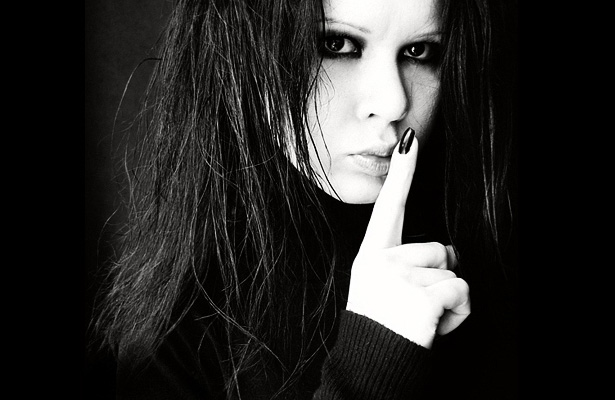
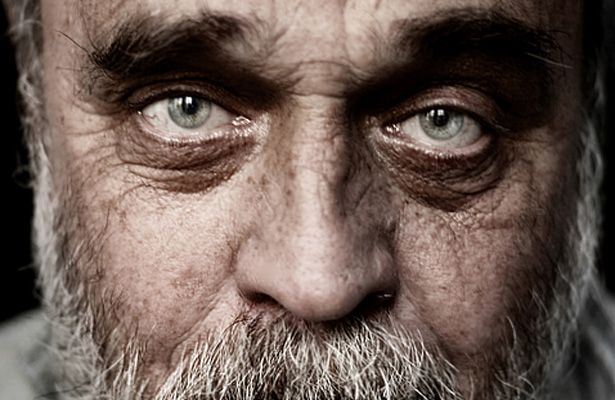
Amazing Portraits for Your Inspiration






Further Resources
Black and White Photo Gallery
Ten Truly Inspiring Photographers
Masters of Photography (Flickr)
4 Quick Tips for Portraits
How to Ask for Permission to Photograph People
Essential Posing Tips
The Art of Black and White Photography (Hard Cover)
Key Ingredients to Black and White Photography
11 Tips for Better Candid Photography
Free Digital Photography Tutorials
What other tips can you suggest to take portraits and self portraits? Which technique is your favorite?


